I love the look of copper in the garden-so much so that I have made a few different pieces for my garden and also a rain chain. I like to use copper tubing because it is flexible and I can manipulate it any way that I want. The added bonus is that it is beautiful and elegant.
I created this recently from a roll of copper tubing, some concrete and an old nursery pot:
 |
| DIY copper garden art |
Here is another piece I made last year:
 |
| DIY copper garden art |
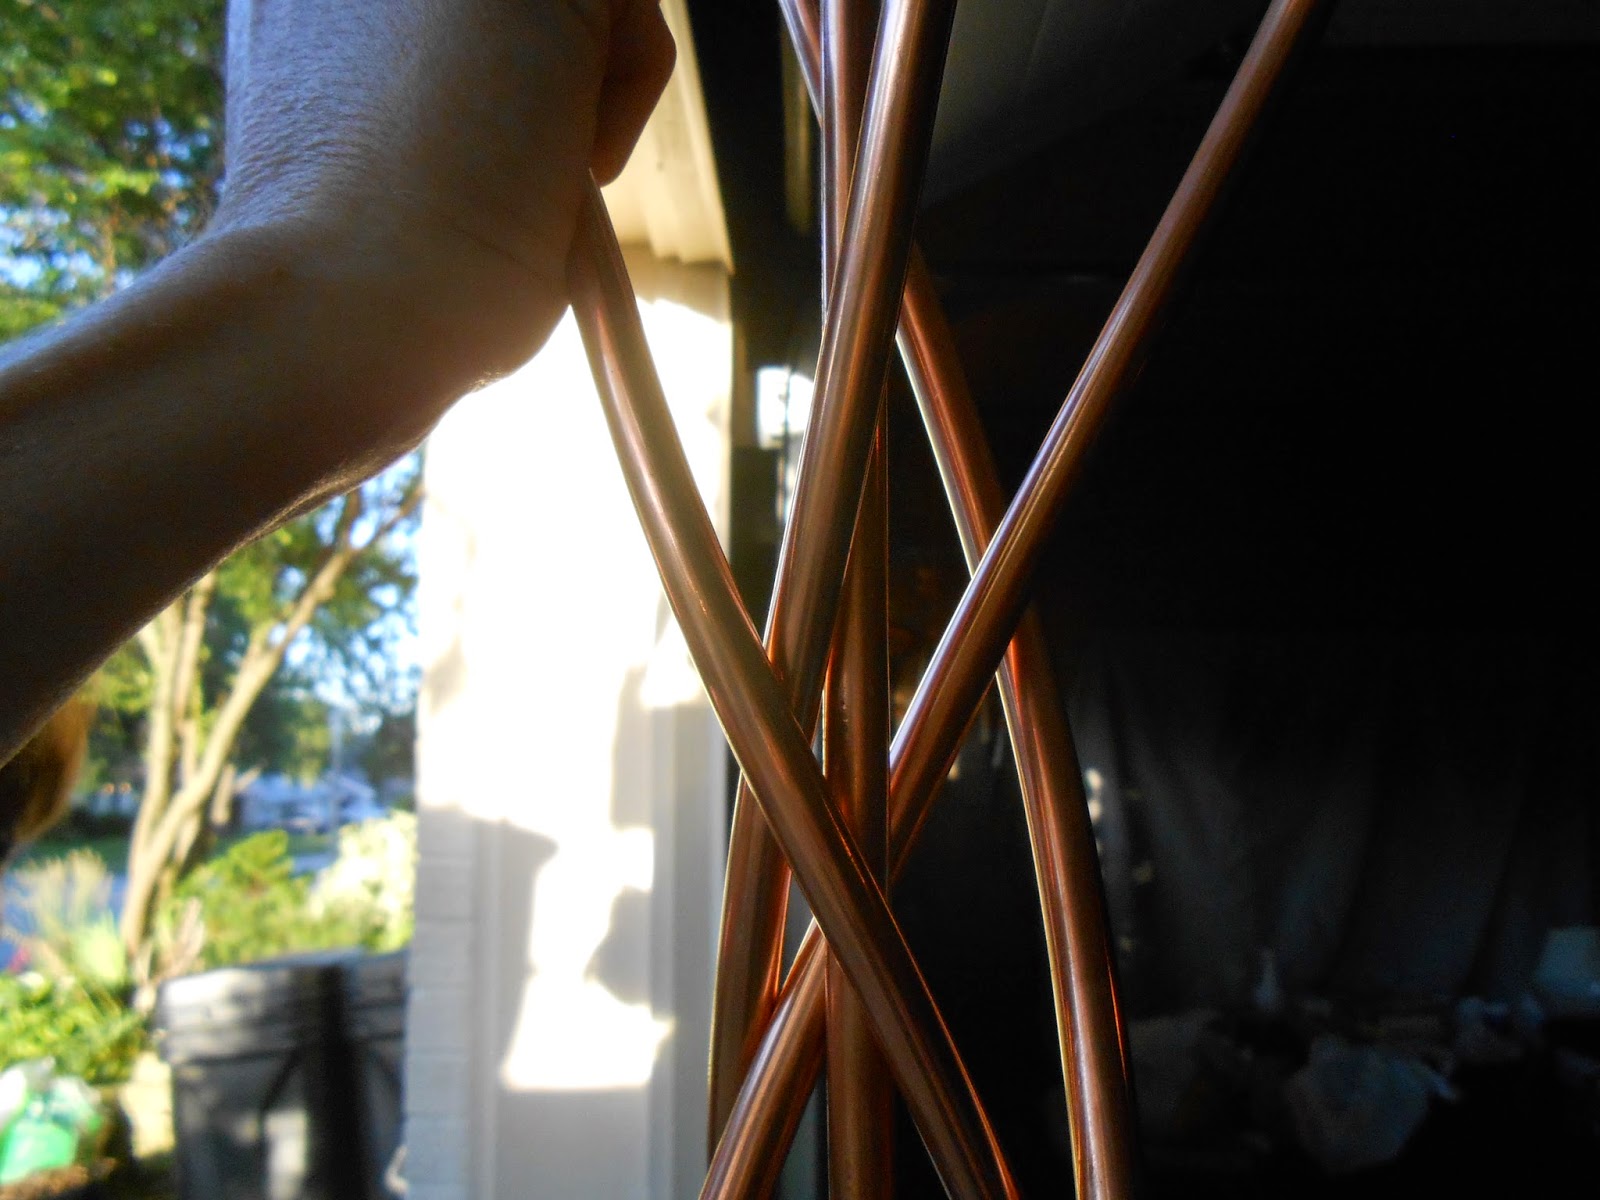
Here is a picture of the first one I created a few years ago:
 |
| DIY copper garden art |
These pieces of garden art are extremely easy to create-you just need to use your imagination and find your artistic side.
In this post I will show you how I created my newest addition to my garden so that you can go out there and create one for your garden.
For this project you will need:
1. An old nursery pot (I think this is a 3 gallon size) and a roll of duct tape.
2. A bag of concrete mix-any will do. I use Quikrete. Also a tub to mix the concrete in.
3. A roll of copper tubing (I picked this one up at Menards it is enough for a couple of projects)
4. A pair of tin snips or pipe cutter.
5. A tape measure (optional)
Here are the steps to create your garden art:
1. Use the duct tape to cover the holes in the bottom of the nursery pot like this:
2. Roll out the tubing and cut into the length you desire. For mine I cut them into 6 foot lengths. Just a note-I like to work in odd numbers so I cut 5 lengths for this project.
3. Mix up the bag of concrete according to the package directions.
4. Let the concrete sit for a few minutes to hydrate then add to the nursery container.
5. Let the concrete sit for a few minutes then start inserting the copper tubing into the concrete like this:
6. In order to hold the tubing in place I use a nylon tie at the top:
7. Let sit for a week (if you use regular concrete) to cure.
8. After the concrete has cured you can cut the nylon tie:
9. Use your hands to gently bend and guide the tubing-do not bend to sharply. This will cause a crimp. Always bend slowly.
Now start on the next one:
Just continue to bend each piece to achieve the look you want. Just remember that this is your piece of art-it does not need to be perfect.
Almost done:
After I had it the way I wanted it I did solder a few of the areas together just to be sure it was sturdy:
You will also notice that it started to patina-I did this treatment before I put it in the garden so I wouldn't kill or damage any plants. If you want to keep the copper color you might want to seal it.
10. Cut off the pot.
11. Find a spot in your garden:
12. Dig a hole and plant your piece of art:
12. Sit back and enjoy your own piece of art:-))
 |
| DIY copper garden art |
 |
| DIY copper garden art |
I hope you try this project out-you can create your own original art work that you will love and your neighbors will admire. And of course it was easy!
Until next time-Happy Planting!
Rhonda


Great looking sculpture!
ReplyDeleteThat's a nice way to take your garden landscaping to the next step! Not only do they look good, but they can be made by almost anyone. Since copper is pretty easy to work with, people can pick this up quickly and try it for themselves. Thanks for sharing!
ReplyDeleteBrandi Bradley @ Rotax Metals
This comment has been removed by a blog administrator.
ReplyDeleteAwesome! I do some stuff with copper too..this is perfect! Will be trying this!
ReplyDeleteBeautiful! I'm going to try it. I'm wondering if I should cap the tops of the copper tubes....not sure if they make copper caps. Maybe that's not necessary.
ReplyDelete