Analytics

Thursday, May 22, 2014

DIY Concrete Birdbath For Less Than Six Dollars

I set out this week to make something to add some structure around a couple of Japanese Maples that I have, so I decided to make myself a couple of simple birdbaths. 

Here is what you will need:
1.  A pair of good gloves
2.  Dust mask
3.  Something to mix the concrete with (trowel, hoe, etc)
4.  Molds
5.  Mold release spray-I use cheap cooking spray
6.  Hardware cloth or chicken wire for reinforcement
7.  Wheelbarrow or tub large enough to mix the concrete in
8.  Concrete or a cement recipe of your choice, I used Quikcrete Commercial Grade Crack Resistant (for durability in my zone 5 climate)
9.  Water
10. Pair of cutters to trim the hardware cloth
Here are the steps to create your own masterpiece:

1.  Pick a set of molds-you will need three pieces for a birdbath.  I went around the house and garage and put pieces together to see what looked interesting and picked what I liked best.  Note: the inner mold should be no more than 2 inches because birds do not like deep water.
Some of the "molds" that I was considering
I went with this to start:
2.  Clean and dry the molds you are going to use.
3.  Trim your hardware cloth to fit in the molds-make sure it is smaller than the mold.
For the bowl:
For the pedestal:

4.  Cover any holes in the molds with tape:
5.  Oil the molds:
Take a paper towel and wipe off excess:

All ready to go:
6.  Dump concrete mix in tub or wheelbarrow (I used 2 bags which was more than enough for the size of molds I had chosen):
7.  Add water as recommended by manufacturer, I always start with less water and add it as needed.  Too much water weakens the concrete.
8.  Begin mixing-I like to mix with my hands and a handheld hoe.
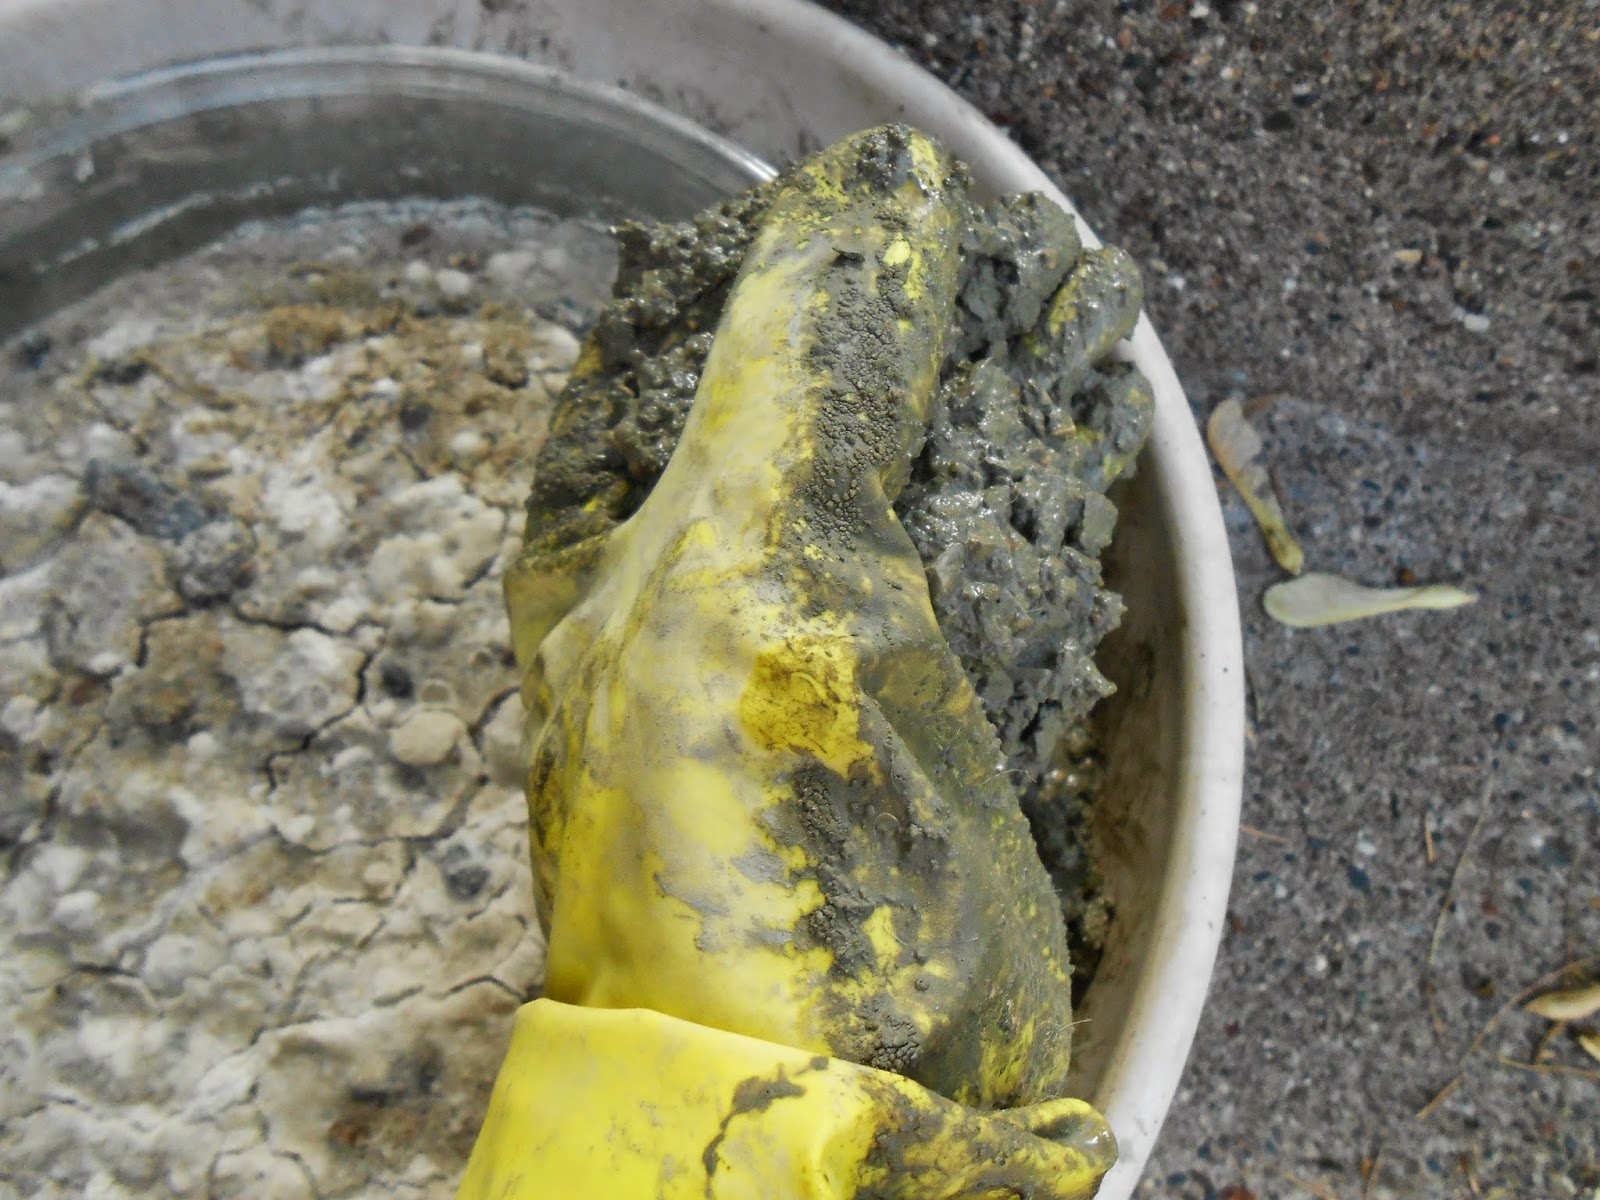
This is the consistency I prefer
9.  Begin filling the molds-at a couple of inches in the bottom first, pressing it in the mold to try and remove air pockets.
Press it down in the mold
When you have a couple of inches in the bottom add the hardware cloth, center it so it is not near the sides:
Add concrete around and inside the hardware cloth pressing it down as much as you can to release air bubbles:
Fill in the sides and the middle-continue pressing it down
Finish filling almost to the top:
Press as you add concrete


Now the other mold:
Fill the bottom
Add hardware cloth
Time to add the inner mold
Add the inner mold-make sure to fill it with sand or rocks to weigh it down:
Set it in the outer mold, center as much as you can
Add concrete around the sides
Press it down to get rid of air bubbles
Add caption

All filled-I added more weight to keep the inner mold in place
Here are the other molds I filled (I made extra so I made 2 birdbaths, 2 bowls and 1 basketball):
10.  Cover them with plastic and let them set up (in a level area if possible) for approximately 24 hours.

11.  After 24 hours unmold them somewhere soft.  Some will slip right out:
and some will be difficult (plastic can be cut off):
These two I had to crack the plastic off:
12.  Cure for a week covered with plastic make sure they stay moist, or use a water bath.  I prefer to cure my concrete in a water bath.  I use my pond when it is clean or you can use large plastic tubs/storage containers.

13.  Seal the concrete or paint it-I use Rustoleum water based concrete seal.

14.  Place them out in the garden for the birds (if you are worried about the top falling off you can use construction adhesive to attach the top to the bottom):

There you are-sturdy, durable birdbaths that you can make for a fraction of what it costs to buy one from a retailer.    Remember, you can embellish them if you would like.  Just do it after you fill the molds (while still wet), you can press gems, stones or shells into the rim or glue leaves in the molds themselves before you spray them with mold release.  Either way, I think you will love your results.

So, until next time-Happy Planting!

Rhonda


Saturday, May 17, 2014

Heuchera Woody? Rejuvenate And Propagate At The Same Time!

The winter took a toll on some of my Heuchera, especially the older ones.  My larger (older) Heuchera looked absolutely horrible!  Here are a couple that needed lots of help:
"Caramel" Heuchera
"Southern Comfort" Heuchera looks dead


It was the combination of sub-zero temps, snow load and varmints-specifically rabbits and voles that have my Heuchera looking like they are goners.  But guess what-they aren't goners.  In fact, they will be back to their awesome selves in a few weeks with a little help from me and a couple of tools.

Here is what you will need:
1.  Good pair of clean, sharp scissors
2.  A pitchfork and/or shovel

If you want to propagate a few while you are working on them you will also need:

3.  Rooting hormone
4.  Small pots
5.  Sterile potting mix
 Begin by carefully cutting and removing the dead/almost dead leaves off near the crown:
 Also look for dead and dried up pieces of crown and remove them also, they look like this:
You can cut them off or sometimes they just snap off:
Be sure to be careful and not cut off some of the new growth.  When you are done removing the leaves it should look similar to this (you can now see the new growth):

 Here is the other Heuchera ("Southern Comfort") after I cleaned it up:

I don't know if you noticed-but the first Heuchera  is extremely woody.  There is a way to remedy that.  You can either cover the area with soil to cover the woody areas or you can lift the Heuchera and put it in deeper.  Since this is a raised bed area  (no problems with crown rot) I will dig it up and put it in deeper.  Here is how you do it:

1.  Gently lift or dig the Heuchera out of the ground.  I like to use a pitchfork as much as possible-it causes less damage to the roots of the plant.
2.  Set it to the side then dig the hole a few inches deeper than it was.
3.  Place the Heuchera back in the hole ensuring that the larger "woody" pieces are going to be covered in soil:
4.  Gently firm the soil back over the roots and some of the stems.
Here is what it should end up looking like:


If the area where your Heuchera is planted has poor drainage you can leave it in it's spot but just mound soil/compost over the woody areas like this:
"Woody" Heuchera

Cover the woody areas with some soil/compost
Make sure to get underneath and around the stems
All stems covered
All done and mulched

After you clean them up you can decide whether or not you want to take a few cuttings.  I did-so here is how I do it:

1.   Locate a nice size piece that looks healthy and trace it down to the crown like this:
Here is another one:
Or you can take a piece from the top of the crown- I took of the big protruding piece off of this one to even it out:

 2.  Cut the piece as far down as you can without damaging the crown.  Make sure to have enough stem:

3.  You should end up with something like this:
or this:
4.  Fill pots with damp potting soil  and them make an indentation in the middle with your finger:
5.  Trim your stems of excess leaves near the stem.  Do not leave too many-the plant will wilt.  You need as few leaves as possible, and they should be on the smaller size.
You should end up with this:
6.  Dampen the stem and dip it in the rooting hormone:
7.  Insert the plant into the hole in the potting soil up to where the new growth (new crown) is developing and then gently firm the soil around the base of the plant:
Heuchera cutting

Heuchera cutting

Heuchera cuttings
8.  Water gently and you are done-it will take a few months for the roots to develop.  Keep them in shade and make sure to keep them watered.   Here are a few I did last fall:
Heuchera cuttings
The roots when ready to plant in the ground:
Heuchera cutting with roots

Here are some before and after pics of the 2 Heucheras-"Caramel" and "Southern Comfort" from the beginning of the post.  You will notice that they are starting to fill in nicely
"Caramel" before 
"Caramel" right after I cleaned it up and buried the woody stems

"Caramel" 2 weeks later-looking good:-))
"Southern Comfort" before-ugh!
After I cleaned it up
Today-2 weeks later, WOW!
If your Heucheras are looking woody and messy or if you just want more of them, use these tips to make more and bring them back to their former beauty.  You won't be sorry you did it!  So, until next time-Happy Planting!

Rhonda