This is my wall after I hung my planters:
Much better, I just wish I had another small pallet to make more:-))
You will need:
1. A small pallet
2. A hammer
3. Something to pry out the nails
4. Scrap wood that you have handy (I used cedar shakes)
5. A few extra nails or screws
This is how I did it:
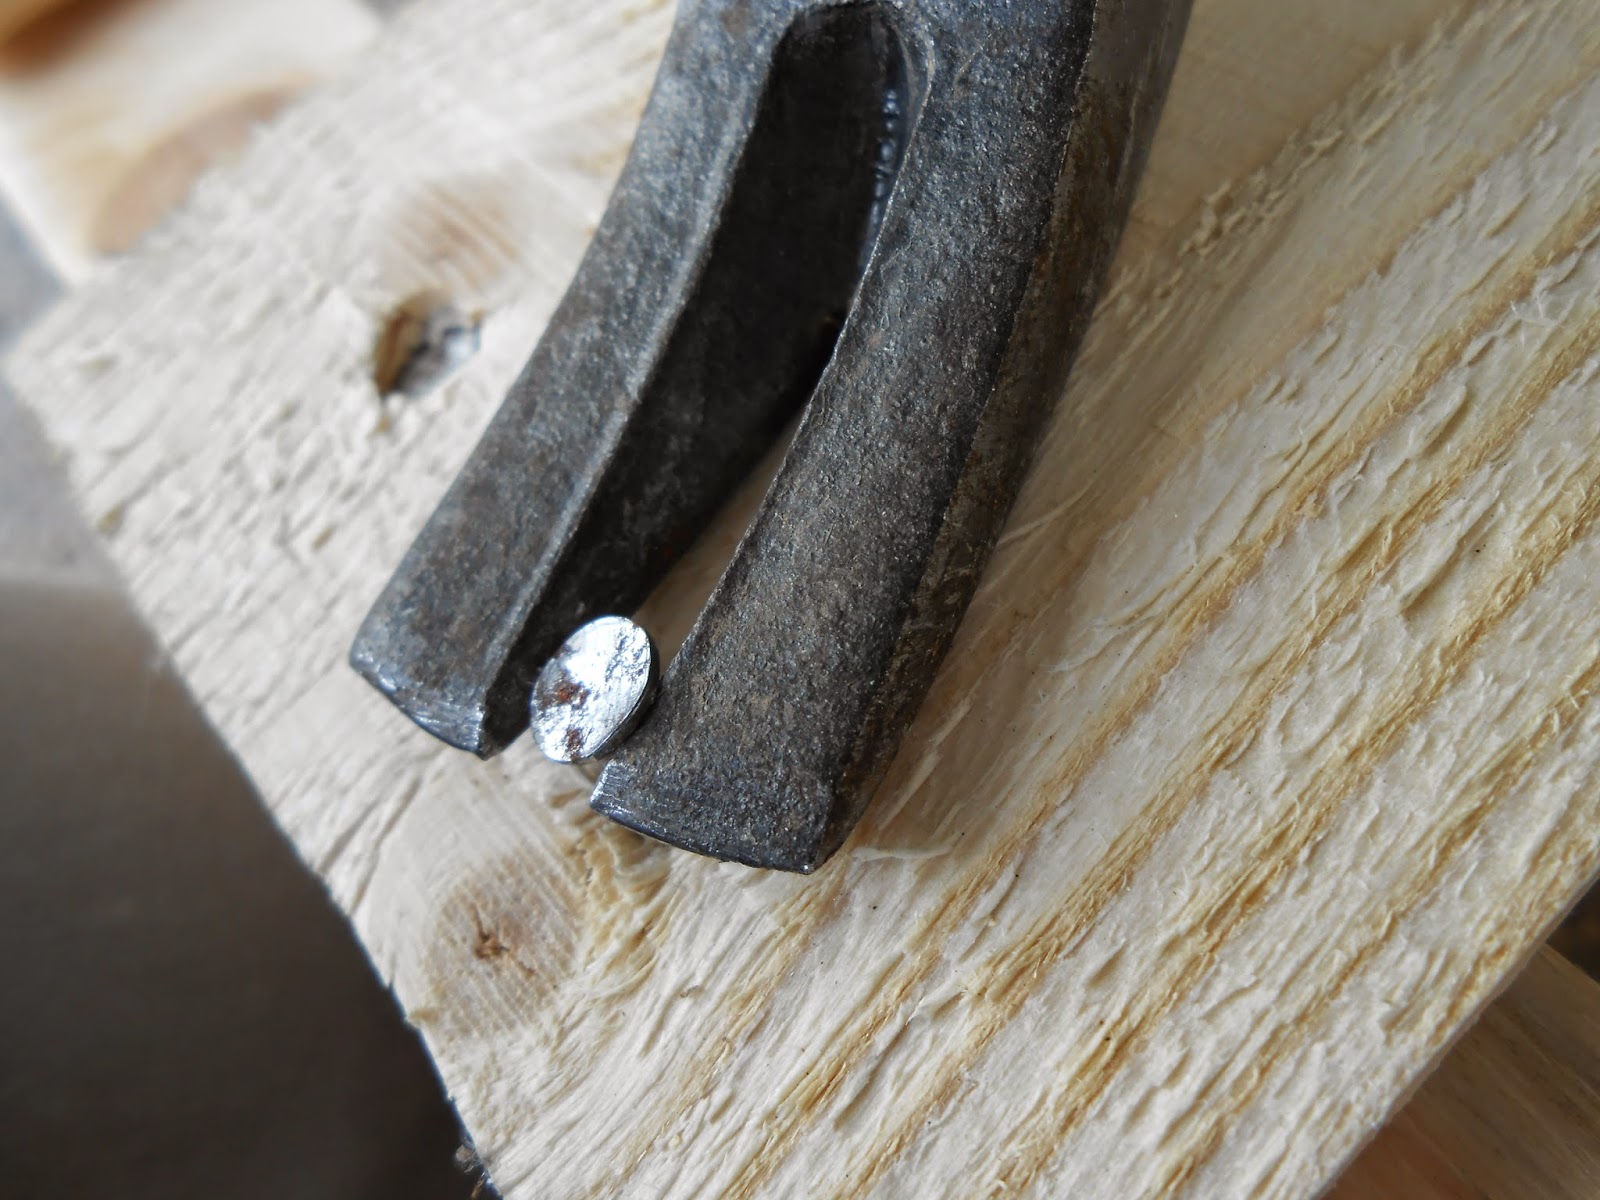
1. First, pry out the nails (gently) and remove the middle boards. I found it easiest to use a mini pry bar to slip under the wood and pry the nail up just enough to be able to remove it with a hammer like this:
2. Remove both boards and the nails you pulled out and set them aside. I reused the nails that came out of the pallet.
3. Now, reattach them so that they are next to the other boards on the pallet like this:
5. This is what you should end up with:
6. Take the scrap wood (measure it if necessary) and nail to the bottom. Cedar shakes worked great-they were almost exactly the size I needed. I only had to trim them up a little bit.
Here they are before being painted:
7. Paint them-I used paint and primer in one and I coated them 3 times to be safe.
All painted and ready to hang:-))
Here is another pic of them after they are hung but before I planted them (note: before I planted them I lined them with landscape fabric to keep the dirt in):
Here they are again:
This project was really easy, I am a total novice when it comes to working with wood and tools. I hope you try this out, it would work on a larger pallet-you would just have bigger planter boxes.
So, until next time-Happy Planting!
Rhonda


No comments:
Post a Comment