Do you ever walk in to a store to buy a particular item and end up getting distracted by something else? I do! It happens all too often. In fact, recently I went to my local Menards store to pick up some supplies for a few concrete projects and walked through the wood department. There sat a pile of cheap wood and I suddenly lost sight of my mission. At the bargain basement price of 1.69, I now had a new project in mind. I had been seeing some really neat ideas on Etsy and Pinterest for wooden scarecrow faces-but most didn't have instructions to make them and some were links to buy them-which irritates the heck out of me. So I grabbed a couple of pieces and headed to the checkout with an idea in my mind-I was going to make one and it will be easy and cheap!


Just like some of my other projects I didn't have to go out and spend a bunch of money and I didn't have to use any power tools. It is easy and most of the time making it was spent waiting for the paint to dry. Here are a couple pictures of the end project:
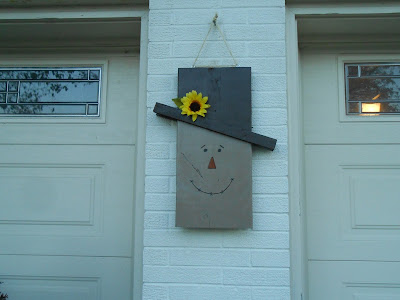 |
| DIY Reversible Fall/Winter Decoration-Scarecrow side |
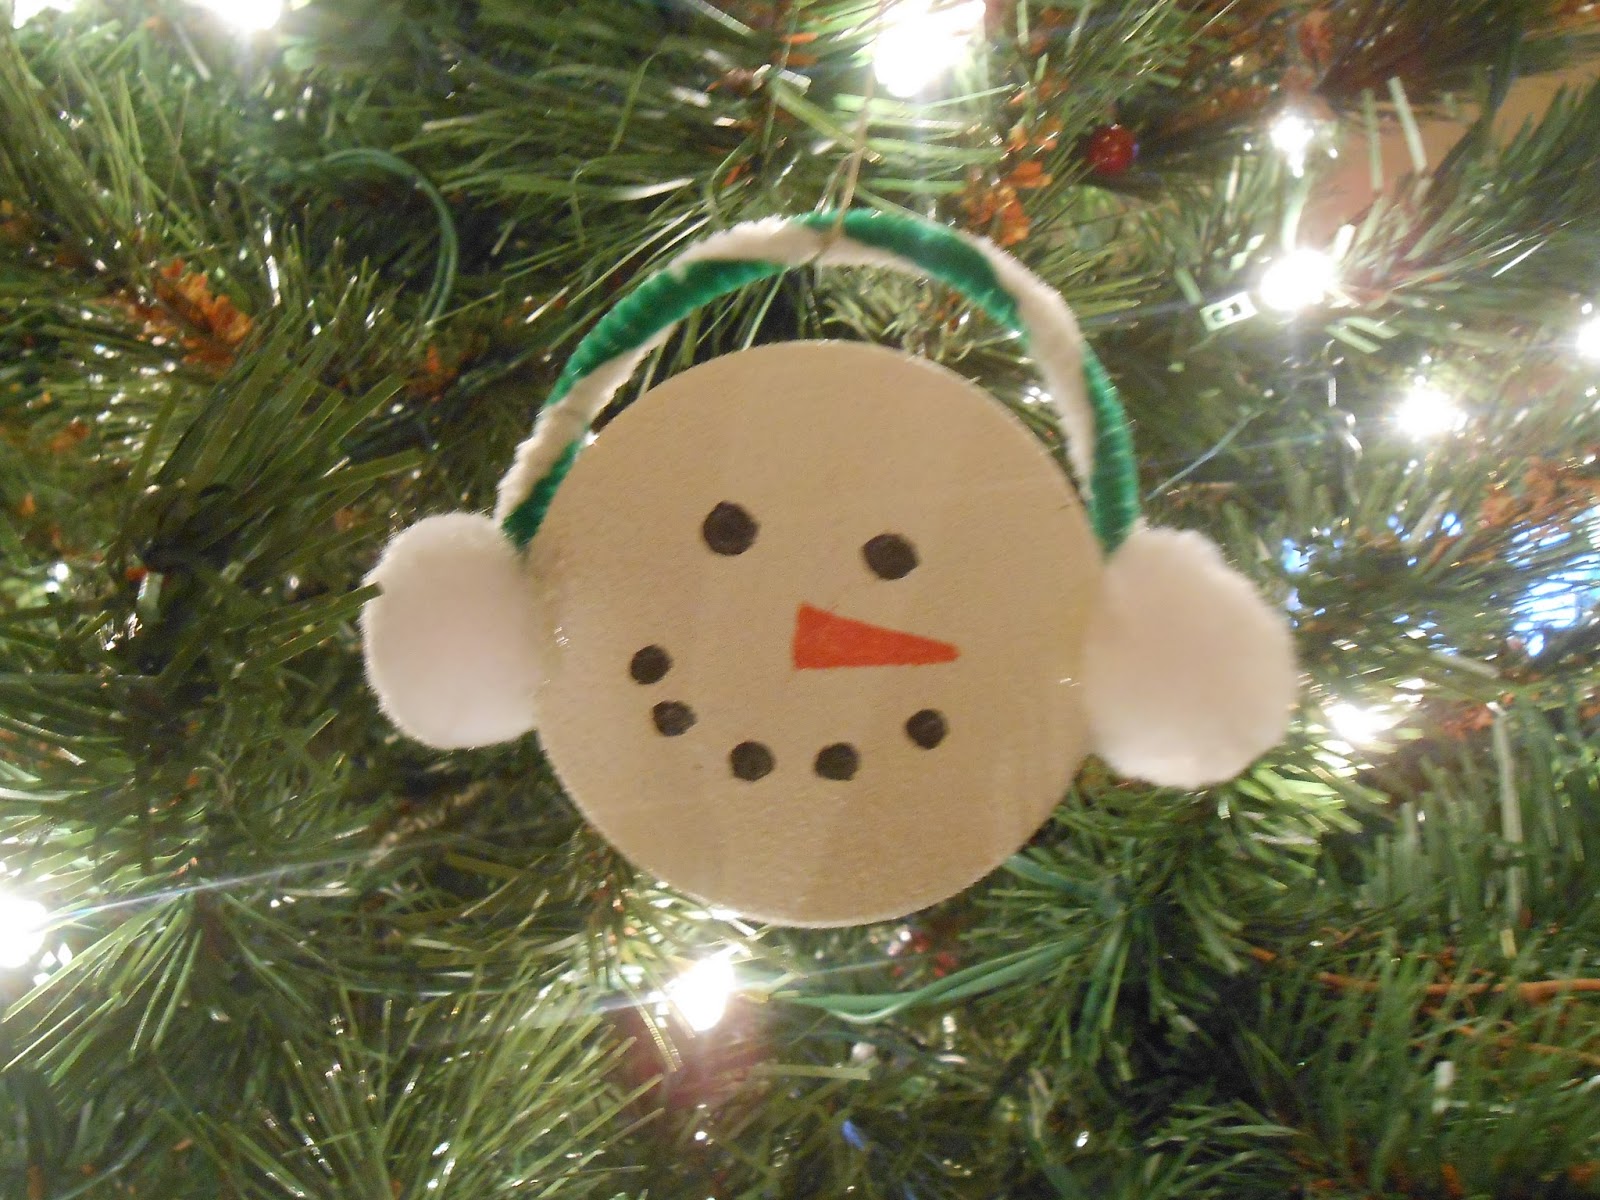
 |
| DIY Reversible Fall/Winter Decoration-Snowman side |
|
|
So here is the wood I used for this project (the 2 small pieces were scrap wood that I had laying around):
 |
| Wood pieces used for snowman/scarecrow project |
Here is a list of what I used:
1. A 2x12 piece of wood
2. 2 scrap pieces of 1 1/2 x 18 in
3. some small nails
4. A hammer and a staple gun (optional to attach flowers)
5. some glue-I used Elmer's Glue All
6. Spray paint-I used black, white, khaki and brown (you can use whatever colors that you want-it is your "art")
7. a couple of fake flowers-I used 1 poinsettia and 1 sunflower for decoration
8. paint and small brushes to make the faces
9. 2 small screw eyes
10. some twine
So here are the steps to create your reversible scarecrow/snowman:
1. Lay your large piece of wood on a piece of cardboard (or plastic) on the ground and line up the smaller wood across the board so that it looks somewhat like a hat brim. Try to have the same amount of overhang on each side. I went about a third of the way down and tilted it like this:
2. When you have it in a position you like then draw a line-this will guide you when you attach it.
3. Now take the glue and run some along the small board-if there is an "ugly" side glue that side:
Do not go to the edge-only glue where there will be contact with the large piece of wood:
 |
| Spread glue evenly |
 |
| Spread glue evenly |
4. Place the strip of wood in position (the line you drew earlier) and hammer a nail in place at each end:
 |
| Nail down the strips for the hat |
Make sure to hammer the nail down all the way:
5. Attach the other strip of wood in the same way-but be sure to line them up with each other so that they are exactly even:
 |
| Make sure both sides are even with each other |
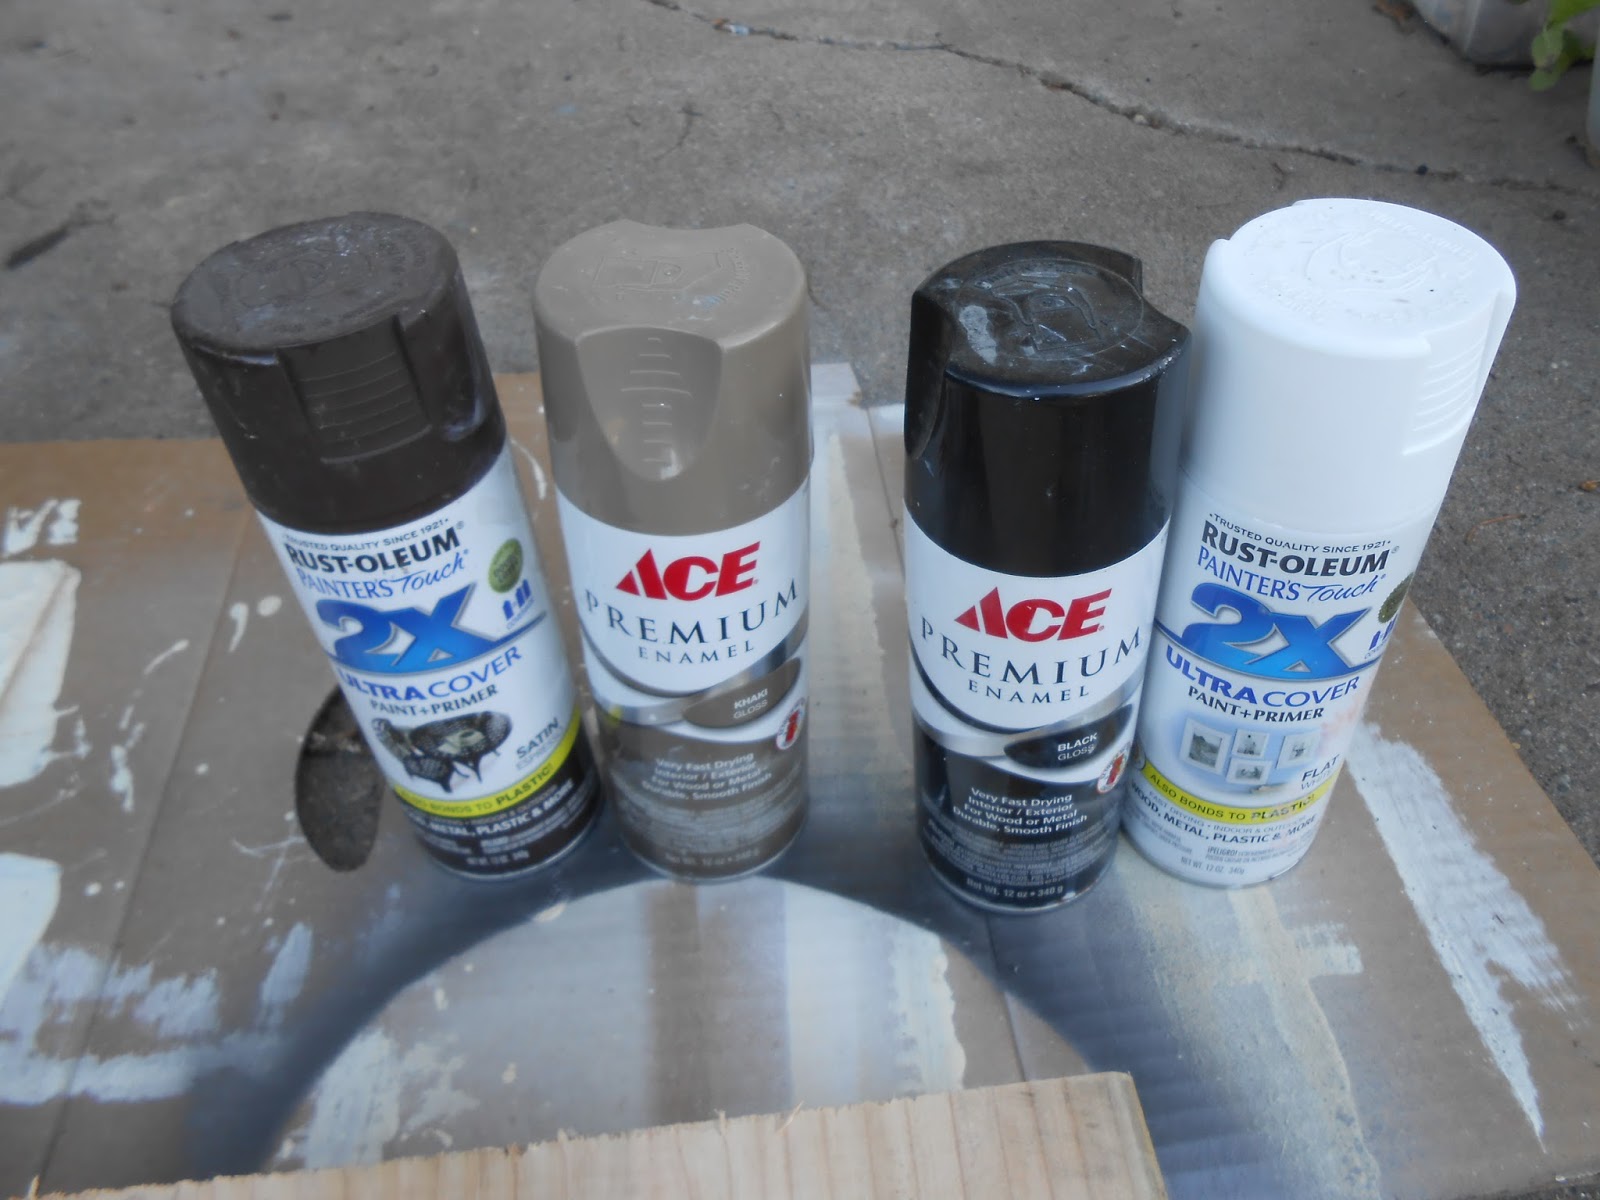
6. Once you have attached the hat brim it is time to paint. I used spray paint which I already had on hand-but you can use whatever paint you prefer. Tape off the sections if you need to. I am messy so I always do:-))
 |
| Spray paint I used |
Paint one section at a time and let dry. I applied 3 coats of paint.
 |
| Snowman side painted |
 |
| Scarecrow side painted |
7. When it is painted and the paint is dry you can add the flowers. I had bought some fake flowers from The Dollar Tree:
 |
| Cheap fake flowers for decoration of the hats |
Pull a flower off of the stem and snip the end off so it is flush:
 |
| Trim off plastic tip from fake flower |
place the flower on the hat-I used a pointsettia for the snowman:
 |
| Add fake flower |
Staple or nail it down-try to hide the nail or staple:
 |
| Staple fake flower down |
Here I used a sunflower for the scarecrow:
8. Now is the time to draw on/paint a face-I am a terrible artist so this was the worst part for me. I am so terrible with using a paintbrush that I ended up using Sharpie markers because I was making a mess with the paints. Here is the scarecrow face side:
 |
| Add a face to the scarecrow side |
Here is the snowman side:
 |
| Add a face to the snowman side |
9. Add the screw eyes to the top:
 |
| Screw eyes to hang the wooden decoration |
twist them in good:
 |
| Add eye screws |
 |
| eye screws |
10. Run the twine through the screw eyes and knot it. I doubled up my twine to give it strength:
 |
| Twine |
 |
| Run twine through eye screws |
11. Ready to hang:
 |
| Wooden reversible scarecrow/snowman hanging decoration |
 |
| Wooden reversible hanging scarecrow/snowman decoration |
See-I told you it was easy! No special tools or paint needed and you don't need any special artistic skills. You also don't need to go out and spend 20-30 dollars on a piece of fall decor especially when you can make it yourself. You can make any adjustments you need to make this work for you. It is only a guide and/or inspiration to create your own unique piece. So, give this project a try and make it your own! I hope you enjoy this post and watch for my next post for another fall/winter project that will also be easy and kinda cool:-))
Until next time-Happy Gardening!
Rhonda