I
really hate to give things up if they look like they have some life left in them. This is especially true when it comes to plastic items, they can be so useful. That leads me to my family and their love for store bought cheesecake. I noticed one day that the lids from the cheesecakes would make a perfect mold for a stepping stone.
Go from this:
To this:
For this project you will need:
Concrete or your favorite "recipe"
Mold
Spray release-I use cheap cooking spray
gloves
dust mask
tub to mix concrete
A leaf or any kind of decorations to adorn your stepping stone (optional)
Spray adhesive or craft glue if you use a leaf
A piece of hardware cloth or chicken wire cut to fit in the middle of the mold
Concrete colorant (optional)
Water
Step 1. Clean and dry the mold.
Step 2. Find a leaf-make it a leaf with a thicker texture like a hosta or tree leaf so that the imprint will show up better.
Step 3. Spray the leaf with adhesive or glue and center it in the middle of the mold.
Step 4. After the leaf is in place spray the mold with cooking spray (or other mold release).
Step 5. Wipe out excess mold release-remember less is more:-))
Step 6. Mix up your cement recipe
or just use your favorite concrete mix
Step 7. Add some water and colorant (if you want colored concrete) as directed on the package. Do not add all the water at once-just some of it. Too much water weakens the final product.
Keep mixing and adding water until you reached the desired consistency. I prefer a thicker consistency, you should be able to form a ball in your hand and it should hold its shape.
Step 8. Walk away for about 10 minutes and let the mix hydrate (unless you use fast setting concrete-start filling the mold if you did).
Step 9. Start adding to the mold (only fill half way)-pressing it in as you add to help release air bubbles.
Step 10. Add hardware cloth or chicken wire in the center so it does not touch the sides of the mold.
Step 11. Add more concrete to fill the mold (remember to press it down as you go).
Step 12. Tap the sides to release more air bubbles and to settle the concrete in the mold.
Step 13. Set the mold in a level place to set up for 24 hours. Don't forget to cover it with plastic to keep it moist.
Step 14. After 24 hours have passed remove the plastic. I like to scrape the scale off of the exposed area-this is entirely optional. To remove the scale I use a steak knife and scrape like this:
After I scraped the scale:
Step 15. Time to unmold. Place the mold upside down on a soft surface.
Try to gently push and pry (with your fingers) the stepping stone out of the mold-be gentle. You can cut the mold off if you are afraid to damage the stepping stone, I try to save my molds for reuse so I work them out best I can:
Remove any leaf that stuck
All done and ready for the cure!
Step 16. Cure-you can mist the stone and wrap it in plastic for a week or two to cure, misting daily to keep the stone hydrated or you can give it a water bath. The water bath is the method I prefer and this is how I do it:
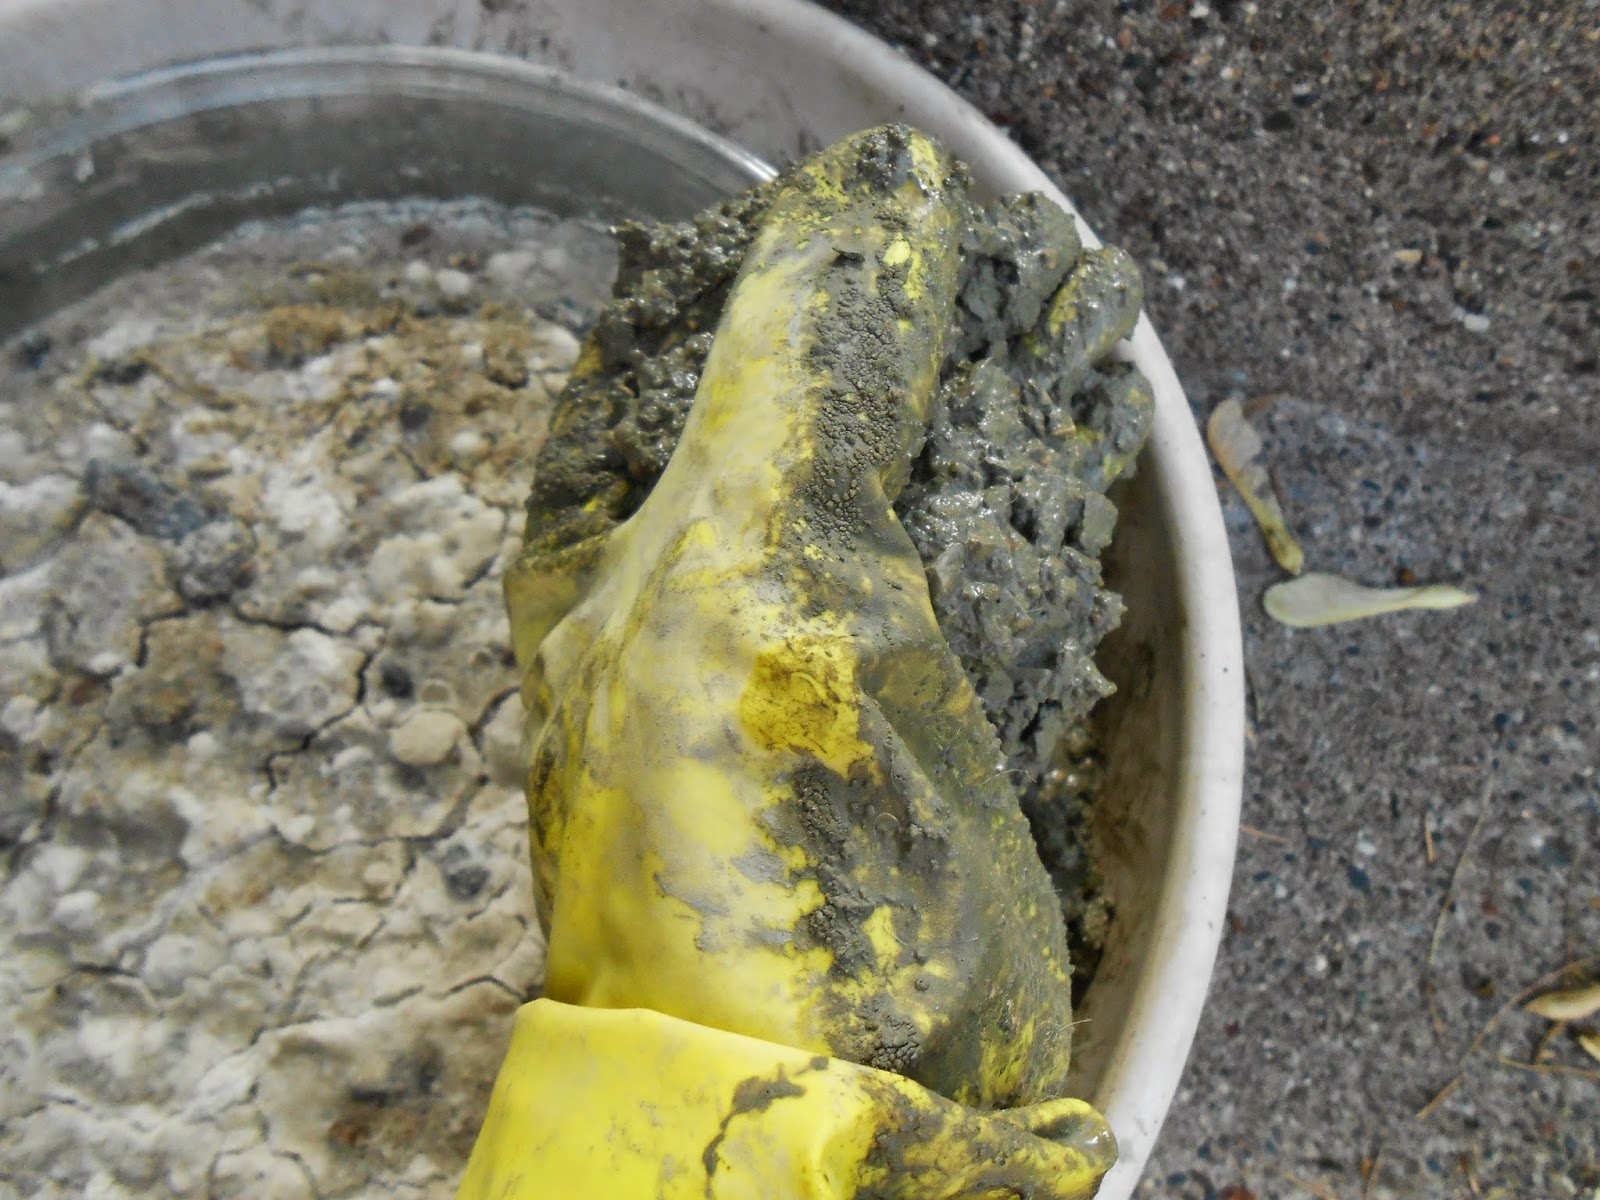
Find a plastic tote or tub that is deep enough and add water to it.
Add your concrete creation and wait a week or two. Change the water if it starts to get cloudy or dirty.
After it is done curing I like to do a quick soak in a vinegar bath which is 4 parts water to 1 part vinegar. I let my concrete pieces soak in this mixture for a good 15-20 minutes. After that I let them air dry.
Step 17. Seal your stepping stone with a concrete sealer. I usually apply 3 coats. I use a water based sealer from Rustoleum, use whatever you like. There are a ton of different concrete sealers out there.
This one is already sealed and ready for the outdoors.
Step 18. Place out in your garden.
I can't calculate the cost-I had everything on hand when I made this stone. I would say it probably didn't cost more than 2 dollars to make.
I hope you enjoy this project-there are a ton of possibilities for personalization with this one, and they would make great gifts. I hope you try this one out the next time you have a spare lid or two in your recycling bin.
So, until next time-Happy Planting!
Rhonda