Analytics

Saturday, January 31, 2015

Aquilegia (Columbine) is an Easy and Beautiful Perennial for the Garden

When someone asks me "what plant or flower do you have the most of in your garden" I always reply Aquilegia or what is commonly called Columbine.  To tell you the truth-I don't even know how many I have or even which ones I have.  I have been letting them self-seed and I also randomly throw down seeds and have been doing it for years now.   Since Aquilegia is probably the most adaptable and easiest to grow plant in my garden I encourage them to grow everywhere.
 
Patch of different Aquilegia growing in my garden
When I say easy and adaptable I mean it.  It will grow in dry shade under my pine trees or or in Full sun (zone 5) next to Lavender.  If you have a difficult area I suggest growing Aquilegia there.  Aquilegia has a taproot which makes it a beautiful drought tolerant plant and is often used in rock and alpine gardens.  It is perfectly hardy in zones 4-8.

White Aquilegia growing under pine trees
Aquilegia growing in full sun
There are some beautiful varieties out there-just about any color you can imagine!  White, yellow, pink, red, purple, black, bi colors, solid colors-you name it.

Purple and pink Aquilegia

Pale pink Aquilegia
They also have a variety of flower forms-singles, doubles, short spurs, long spurs, without spurs.
Aquilegia chrysantha with long spurs

White Aquilegia (no id)  without spurs
They are super easy from seed-in fact all of mine have come from seed.  Don't waste your money buying a plant because Aquilegias are a short-lived perennial.  Instead grow them from seed-you can buy seed packets from various retailers or just ask another gardener to share.  I have received many seeds from other gardeners.  One note though-Aquilegia hybridize readily so they may or may not look like the mother plant.  I personally enjoy the surprise I get growing them from seed but if you want true "named" varieties buy the seed packets from the store. Sow seeds or allow them to self-sow every year to ensure you always have the plant around.
Aquilegia vulgaris "Black Barlow"

Aquilegia "Winky Series"
One bonus I truly appreciate in this plant is deer and rabbit resistant.  I have a serious rabbit problem and this is one of my plants they avoid nibbling.  Squirrels and deer stay away from it too!  If you have any of these animal  problems this is a must for your garden!
Purple Aquilegia
 If you are looking to plant for pollinators Aquilegia is a must.  It attracts bees as well as Hummingbirds to it's flowers.  In my garden the hummingbird favorite seems to be my native Aquilegia canadensis but they do visit the others throughout my gardens and the bees don't seem to have a favorite.  The go from on to another without regards to color or style.
Aquilegia canadensis
Aquilegia bloom throughout much of the month of May-but my Aquilegia "Tequila Sunrise" has an extremely long bloom time for the species blooming from May well into the month of June.
My longest blooming variety-Aquilegia "Tequila Sunrise"
I have to admit that this plant is not without it's problems.  Leaf miners usually attack my plants every year.  It does not harm the plant-it just cause the leaves to look funny.  Aphids and spider mites can also be a problem.  They also will usually not kill the plant but may cause leaves or flowers to become distorted.  Mildew will surface on it's leaves from time to time-but this also will not kill the plant.  My solution to all of these problems is not chemicals but to just cut the entire plant down to the crown and throw away (do not compost it).  The plant will send up a new flush of leaves in no time and will look good as new. 

Aquilegia do not need any help in the form of fertilizer.  I do not fertilize the plants in my garden and they bloom beautifully so save that Miracle Grow for your other plants.  The only nutrients my plants receive are those provided by my mulch layer breaking down or a rabbit pooping in the area. 
White Aquilegia
I hope this post has given you some incentive to grow this very beautiful and useful plant in your gardens.  They are an easy and wonderful addition to your garden and you will not be disappointed!   Here are some more varieties to encourage you:
Purple/Blue Aquilegia
White Aquilegia
Pink Aquilegia
Purple Aquilegia

Pink Aquilegia
Purple Aquilegia
Thanks for stopping by and if you have any questions or comments feel free to leave them below.  As always:

Happy planting!
Rhonda

Thursday, January 15, 2015

Tips for Feeding Wild Birds

Feeding birds has always been a hobby of mine-I have been doing it for years now and nothing entertains me more than watching the birds feeding.  I get rewarded with their antics and their activities and even when I am crabby they make me smile.  And nothing tops a visit from a bird that is uncommon in my area.  Bird feeding is a rewarding hobby and if you follow these tips it will be rewarding for your feathered friends. 

1.  Place feeders in different areas of your yard and garden-this will give all the birds an opportunity to eat not just the "bully" birds like Jays and Starlings.

2.  Provide water year round.  I even provide water in winter with this heated birdbath.  The birds share it with the other animals that use it.

Heated birdbath

3.  Be consistent if you wish to keep having them return.  Don't let your feeders remain empty for a long time between fillings


4.  Have a variety of feeder types available.  I have very hungry squirrels in my yard so I have feeders that are "squirrel proof".  There are many types available including hanging, platform, tube, suet, and "sock" feeders. 

Hanging squirrel resistant feeders
Squirrel resistant feeder on a pole

Platform feeder slightly off of the ground
5.  Don't forget the ground feeders!  Birds like Juncos and Turtle Doves prefer to feed on the ground-I usually just throw some down for them under the feeder.  I also do this to keep the squirrels from trying to get at the other feeders.  It usually helps:-))

Birdseed for ground feeders
6.  When choosing a birdseed or a mix don't waste your money on "cheap" birdseed or birdseed that contains a lot of fillers especially Milo and wheat.  Very few birds will eat it unless they are starving and it will end up growing under your feeder.  Look at the ingredients on the bag: 
Milo should not be the first ingredient in birdseed
This birdseed has a good mix of ingredients-notice no milo
This birdseed mix is good for Finches-notice no milo
Don't buy "flavored" birdseed-it is usually artificial and is unnecessary to attract the birds.  I have accidentally purchased the "berry" flavored and it made no difference.  I really don't think they care.
Another waste of money is safflower-it is expensive and I have never had any of my birds prefer it.  If you have an issue with squirrels your best bet is with a squirrel proof feeder. If you want the best all-around bird seed choose black oil sunflower.  It appeals to the widest variety of birds including Woodpeckers, Finches, Cardinals, Titmice and Chickadees.  You can usually find it on sale and it can be cheaper than most of the mixes.
50 lb bag of Black Oil sunflower seeds
Other foods you can provide:  suet, mealy worms or bugs, peanuts (unsalted), peanut butter and whole corn. Do not feed your birds processed foods such as white bread, cakes, donuts, etc.  These contain additives and chemicals that aren't good for us let alone wildlife.  It will also attract unwanted pests like rats and mice and also less desirable birds such as crows and starlings to your yard.

7.  Provide cover for them to fly into to escape potential predators.  Shrubs and trees will provide the safety they need to feel better.

8.  Leave seed heads of some of your plants and flowers standing in the Fall and Winter.  Plants like Agastache, Rudbeckia, and Echinacea provide another food option for the birds.  You can also plant shrubs and trees that provide nuts and berries to provide food for them.

9.  Keep it clean!  Keep your feeders and birdbaths clean to help prevent the spread of diseases that might potentially make the birds sick.  Also throw away any seed that has gotten moldy from being wet.  Do not leave it in the feeder.  Clean up around the bottom of your feeders to remove the hulls from the seed and occasionally move your feeders to keep the area below clean for the ground feeders.  Here are a few pics of my visitors:


10.  Enjoy them!  I hang a few feeders outside my windows so I can watch them feed especially in the morning when I am drinking my coffee.  It is better than TV.

Northern Cardinal at feeder

Turtle Dove

Turtle Dove junco and Sparrow

Blue Jay
If you have any questions, comments or suggestions feel free to leave them below.

Until next time-Happy Planting!

Rhonda


Sunday, January 4, 2015

DIY Wax Melts Made by Recycling Old Candles

Have you noticed the price of wax melts?  Some of them can be pricey and if you try to be cheap and buy the less expensive brands they don't seem to last as long or smell as wonderful.  My solution?  Make my own.  I originally started this project to make my own using wax I had purchased but along the way I figured out I could do it even cheaper.  I did this by using old candles I picked up at a garage sale a long time ago and wax from old candles I had sitting around.  I especially loved the fact I found a use for what was left of the Glade candles I had saved for a year. The point:  look around and use what you have first.  This project is super easy and quick-it won't take any time at all to make them.

For this project you will need the following:

1.  8 oz of any kind of wax this was equal to 4 votive candles-use whatever you would like that is similar in scent or use unscented.  Some scents just do not go together such as Pumpkin Spice and Lavender.  Trust me on this:-))

2.  Molds-I use both an ice cube tray and the tray some wax melts came in.
Supplies for making wax melts

3.  Essential oil(s)-between 25-40 drops (depending on the brand)
if your wax is not very fragrant.  Try to make it a scent that works with the scent of the wax you are working with.  Some candles did not need an addition of essential oil.  These included Glade, Yankee and Colonial brands.

4.  A double boiler system and a mixing tool.  Here is what I used:
Melting wax using a double boiler system

Here are the steps to make your own wax melts:

1.  Remove the tag, wick and the metal collar from the candle and chop up your wax so that it melts easier and faster.  Here is how I did votive candles:
Remove tag from votive

Remove wick from votive
Chop votive
Here I just cut the wax out of the glass holder (be sure to find the wick and collar and remove it) or you can set it in a pan with a small amount of boiling water for a few seconds to remove it.


2.  Place in your melting container-I used glass:

3.  Place over simmering water:
4. Melt slowly over simmering (NOT boiling) water:

5.  When almost completely melted (just a few small pieces remaining) remove from the heat and stir until completely melted:

6.  If it needs some scent add it now and gently stir it in.  The green wax did not need any but the white votives did:
7.  Pour into your molds:
8.  Allow to cool:
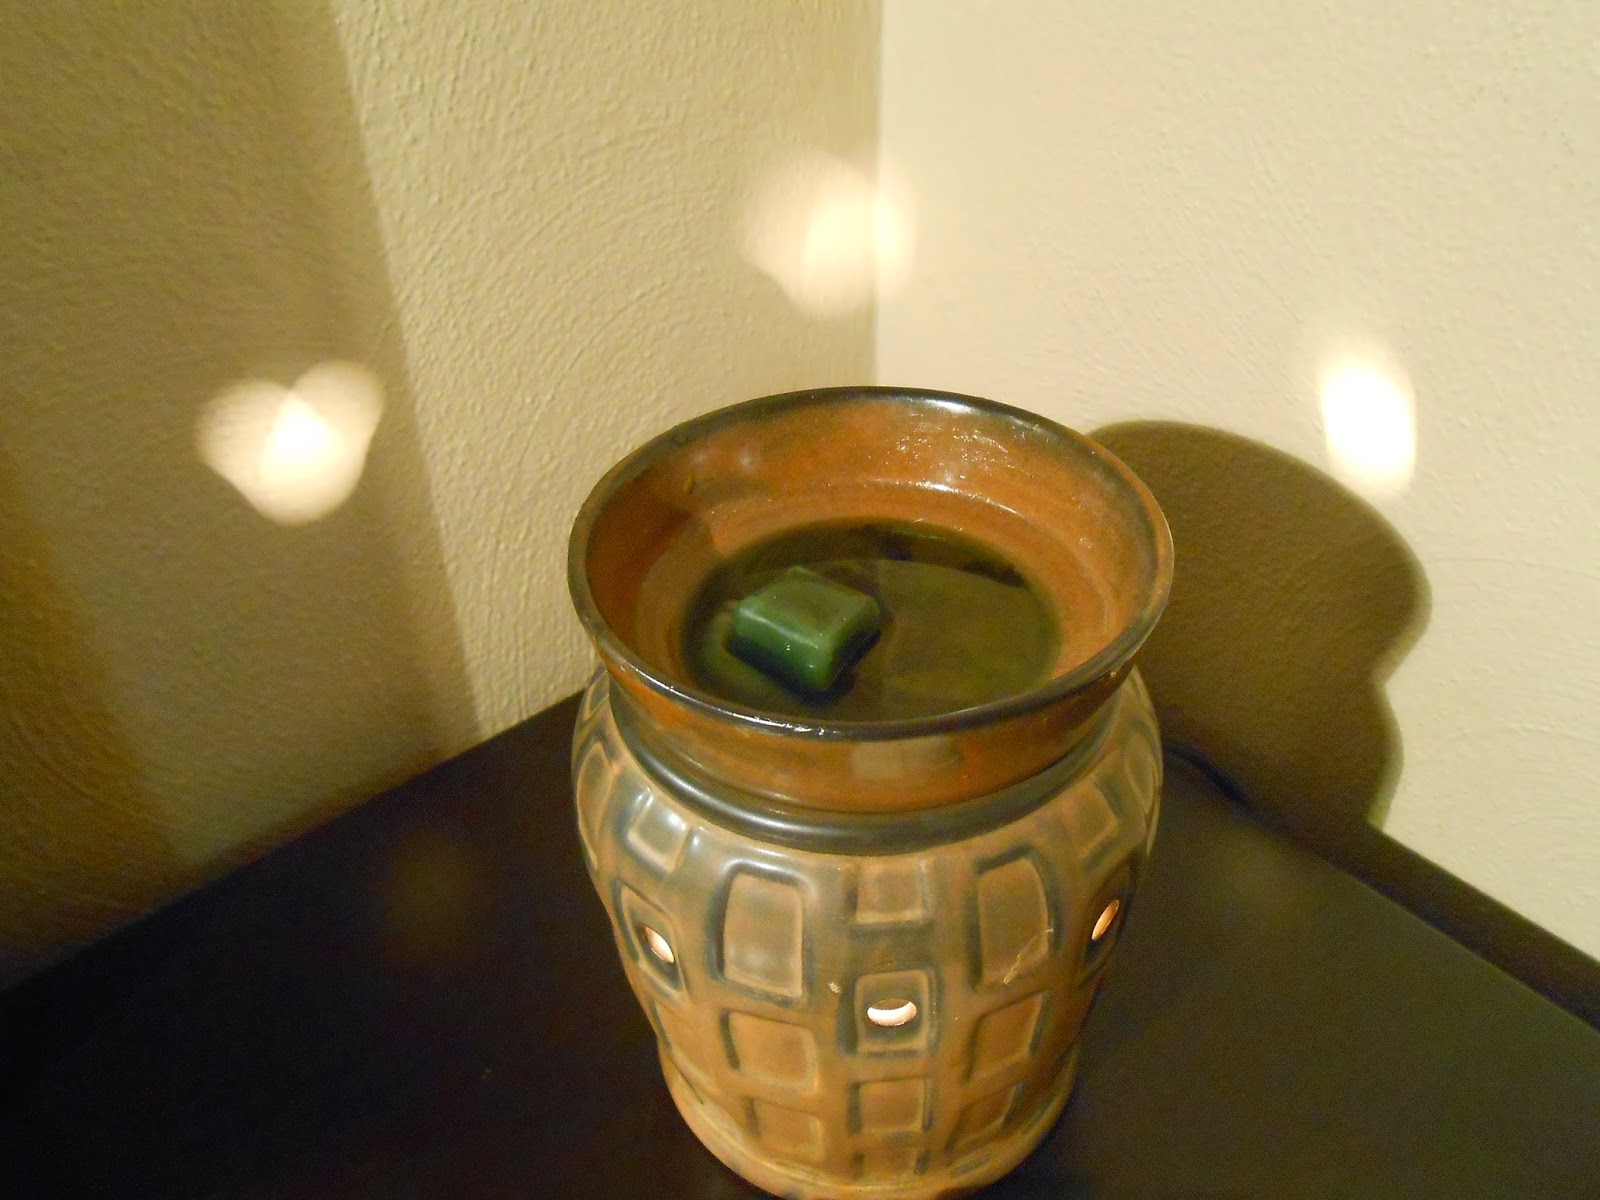
9.  When cool place in your warmer and enjoy!


If you do not want to use old candles or old wax for this project go ahead and use new wax.  The steps are exactly the same.  This project works with any kind of wax-soy, beeswax, paraffin etc.  Just remember you are not limited.  You can also create your own scents this way.  I hope you like this money saving project and if you have any questions or comments feel free to leave them.

Happy Planting!
Rhonda