
 |
| Cuttings grown in 2 liter bottles |
The method of propagation I use involves the use of a 2 liter bottle and cuttings. For a cutting to take root humidity/moisture levels must be maintained and the 2 liter bottle keeps the cutting all warm and moist until it sends out new roots. You can do it inside anytime or outside (in the shade) when it is warm out-Spring and Summer are the perfect time to expand you plant collection. Just follow my steps and you will have success at propagating your plants from cuttings too!
Here is what you will need:
 |
| Supplies to propagate plants easily |

2. Sterile rooting medium-I use Pro-Mix All Purpose Growing Mix but you can use perlite, course sand or your favorite seed starting mix
3. Clean scissors and something to poke holes in the bottom of the 2 liter
Here are the steps to propagate your own plants:
1. Clean the 2 liter bottle (make sure to put the cap back on) and remove the label.
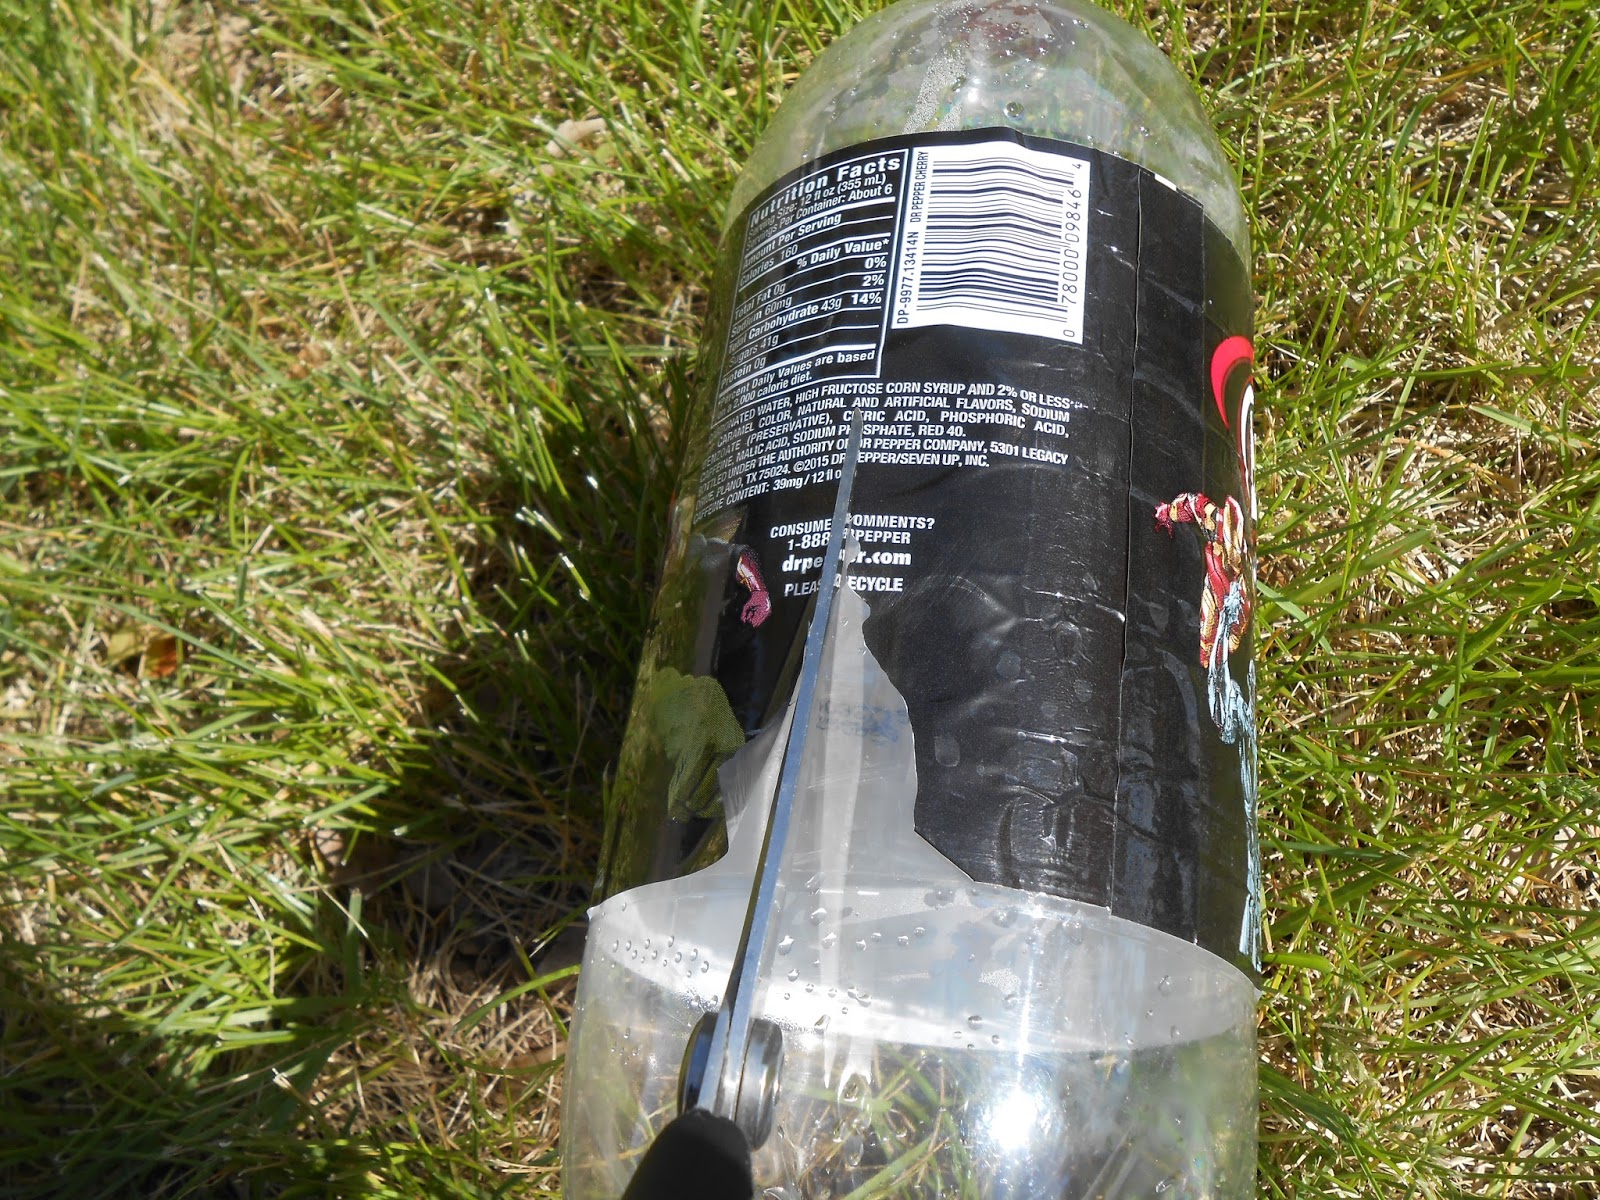

2. With a screwdriver, ice pick or scissors poke holes in the bottom of your bottle.


3. Using the scissors, cut the 2 liter bottle in half.


4. Cut 3 or 4 slits in the top half of the 2 liter like this:


 |
| 2 liter propagator |
5. Fill the bottom half of the 2 liter with sterile medium.
 |
| 2 liter propagators ready for cuttings |
6. Wet the rooting medium thoroughly and let drain. Do not use any fertilizer.
7. When the rooting medium in the bottom half of the 2 liter has drained set it to the side. Clean your scissors.
8. Find a candidate for propagation. If you are new to this start with something easy like Mint, Basil, Coleus, or Lamium.
9. Cut a piece off that has at least 3 sets of leaves. Cut off below a set of leaf nodes if possible or if propagating Heuchera you need a piece of the crown.
 |
| Taking a cutting from Chocolate Mint |
 |
| Chocolate Mint cutting |
 |
| Heuchera cutting |
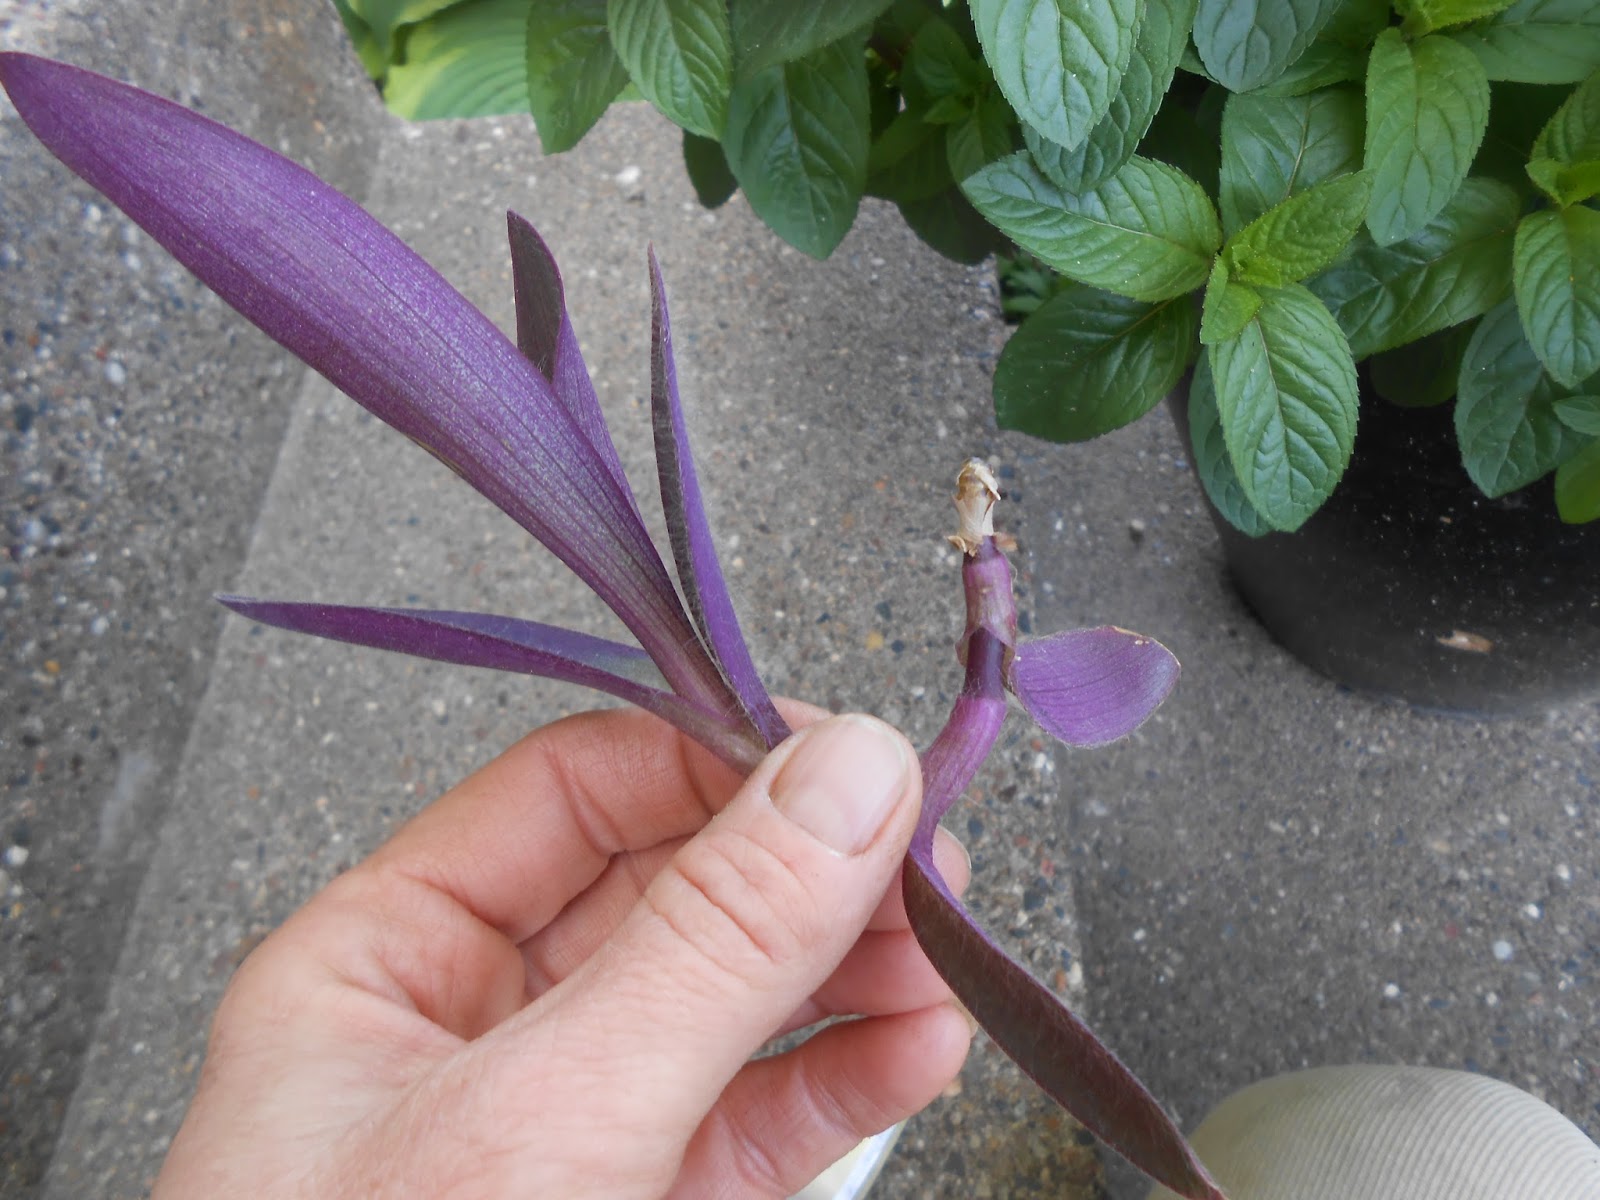 |
| Tradescantia pallida cutting |
 |
| Pineapple Mint |
10. Rinse the cutting off. I like to spray mine down first with a solution of water mixed with Dawn and epsom salts in a spray bottle to ensure no critters are hiding on the leaves. After I spray with the solution I then rinse off really well.
 |
| Use a spray bottle filled with water, squirt of DAWN, and a pinch of Epsom salts to "clean" plant |
 |
| Rinse cuttings off with water |
11. Trim off the bottom leaves or excess stem.
 |
| Pineapple mint cutting trimmed |
 |
| Chocolate mint cutting trimmed |
 |
| Heuchera cutting trimmed up with a piece of crown attached |
 |
| Place Chocolate Mint cutting into rooting medium |
 |
| Place Heuchera in rooting medium |
13. Place the top of the 2 liter over the bottom and place either in a shady spot outside or in a sunny window inside. I also do this under my seed starting setup which uses flourescent lights.
 |
| 2 liter propagators |
14. Monitor the 2 liter bottle and make sure it stays moist. I usually will set it in a tray of water if it isn't "foggy" or humid in the bottle. Remember you need the cuttings to stay moist.

15. After about a week check the bottom of the bottle. Sometimes you can start to see roots form in the bottom especially with the easy to root plants. If you don't see any roots don't worry. As long as the cutting isn't wilting it is still alive and doing okay. Sometimes if you give it a little tug you will notice it is resistant to coming out. Just be patient. Most plants will start to send out roots within 2-3 weeks.
 |
| Roots of propagated plant |
 |
| Roots of propagated planted |
 |
| Chocolate Mint roots after 1 week |
 |
| Lemon Thyme roots after 1 week |
 |
| Heuchera roots after 2 weeks |
17. After the plant is adjusted to the outside air and sun you can now plant it or pot it up. The following plants were rooted and ready in 2 weeks: Pineapple Mint, Chocolate Mint and Tradescantia pallida. The Lemon Thyme and Heuchera will take more time to develop enough roots to survive-at least another 2 weeks.
 |
| Propagated plants potted up after less than 3 weeks |
18. Just remember that not all plants will root quickly-be patient. Even if it takes a month to root you will still have a more substantial plant than if you had started the plant from seed.
I hope I have persuaded you to go out and take some cuttings and give this method a try. Nothing is more rewarding than propagating your own plants, and using a 2 liter bottle is the cheapest and easiest way to do it. Heck, 2 liter bottles are an essential tool for us gardeners-I also use them for seed starting. So, next time you have a 2 liter bottle use it to make more plants! If you have any questions or comments feel free to leave them below.
Until next time-Happy Gardening!
Rhonda
rhonda ..... this is the easiest to follow tutorial i have ever read on propagation i am going to pin this to use thanks so much xx
ReplyDeleteThank you for the compliment! I think pictures help a lot-sometimes when you write something it can be difficult to understand unless you see a picture. I hope you give this a try-it is really easy:-))
ReplyDeleteI love propogating plants. I have lots of roses that I've done this with (well not exactly..I just use some plant containers with a plastic bag over them). And almost all of my hydrangeas were propogated from cuttings I got from friends and family. It's so easy to do once you gather a little info about it.
ReplyDeleteI agree-it is super easy but people find it intimidating. I also like doing it because it is cheap:-)) Who doesn't love free plants!
DeleteI also like propagating plants,especially mint and herbs (which I sell at craft fairs along with my handmade greeting cards) I usually propagate them in perlite and water, but I will try and do it your way for the harder cuttings of rosemary and feverfew. Cheers and thankyou, Marilyn in the UK.
ReplyDeleteHi, thanks for the instructions for easy propagating a plant.
ReplyDeleteI have a question though: i started to propagate some plants from cuttings, I did almost exactly what you did (with the exception that i planted them in small pots and put plastic bags around), but after 1-2 weeks although the cuttings seem ok, the soil started to get fungy and mold. Why did this happen?
Thank you
The Multi-Purpose Spray Bottle is perfect for cleaning, gardening, and everyday use. It’s durable, easy to refill, and provides a smooth, even spray every time!
ReplyDelete