Analytics

Monday, June 30, 2014

DIY Driftwood Hose Holder


For years my hose has been a nuisance and an eyesore in my backyard.  It has laid around in numerous spots, mostly in the way of someone or something, so I finally decided to do something about it.  I made myself a hose holder out a found piece of driftwood.  It was easy, cheap and I think it turned out pretty darned good.

When I spotted the piece down at the river I new automatically what I was going to do with it.  It had the perfect shape for my purpose and better yet it was FREE!
All I had to buy was a bag of quick setting cement which cost less than 5 dollars at my local Menards.
Here is how I "created" my driftwood hose holder:
1.  Seal the bottom (or the entire piece) of driftwood.  I use Thompson's Waterseal because I have a 5 gallon can on hand from doing my deck a couple years ago.
2.  Dig a hole.  The depth should be 1/3 of the height of the "pole".
3.  Mix up your concrete.
4.  Add some to the hole ( a couple of inches).
5.  Add post.  Have someone hold it upright and straight while you fill in around it.
6.  Place bricks around the base so it doesn't move.  It is quick setting so it only took about a half hour to set up.

7.  I let it set for a week before I added my hose to it-I have a lot of hose and was worried about the weight.

8.  Add hose and enjoy!  Here it is all set up.
Now my hose is organized and out of the way-no more tripping on it or dragging it off of my deck to use it.  Plus, I think it looks way better than it did:-))

Until next time-Happy Planting!

Rhonda


Thursday, June 19, 2014

Cheap and Easy "Rustic" Bucket Stool

Have you seen the $5 bucket stool?  It is ingenious!  Well, I decided to make one of my own but with my own twist since I like creating things with what I happen to have on hand.  In fact, the $5 bucket stool probably cost me less than $2 in supplies.  Not only is it cheap-it is easy as pie to make!  So here is how I did it.
Rustic bucket stool made of concrete
My rustic bucket stool

Supplies needed:
1.  A 5 gallon bucket
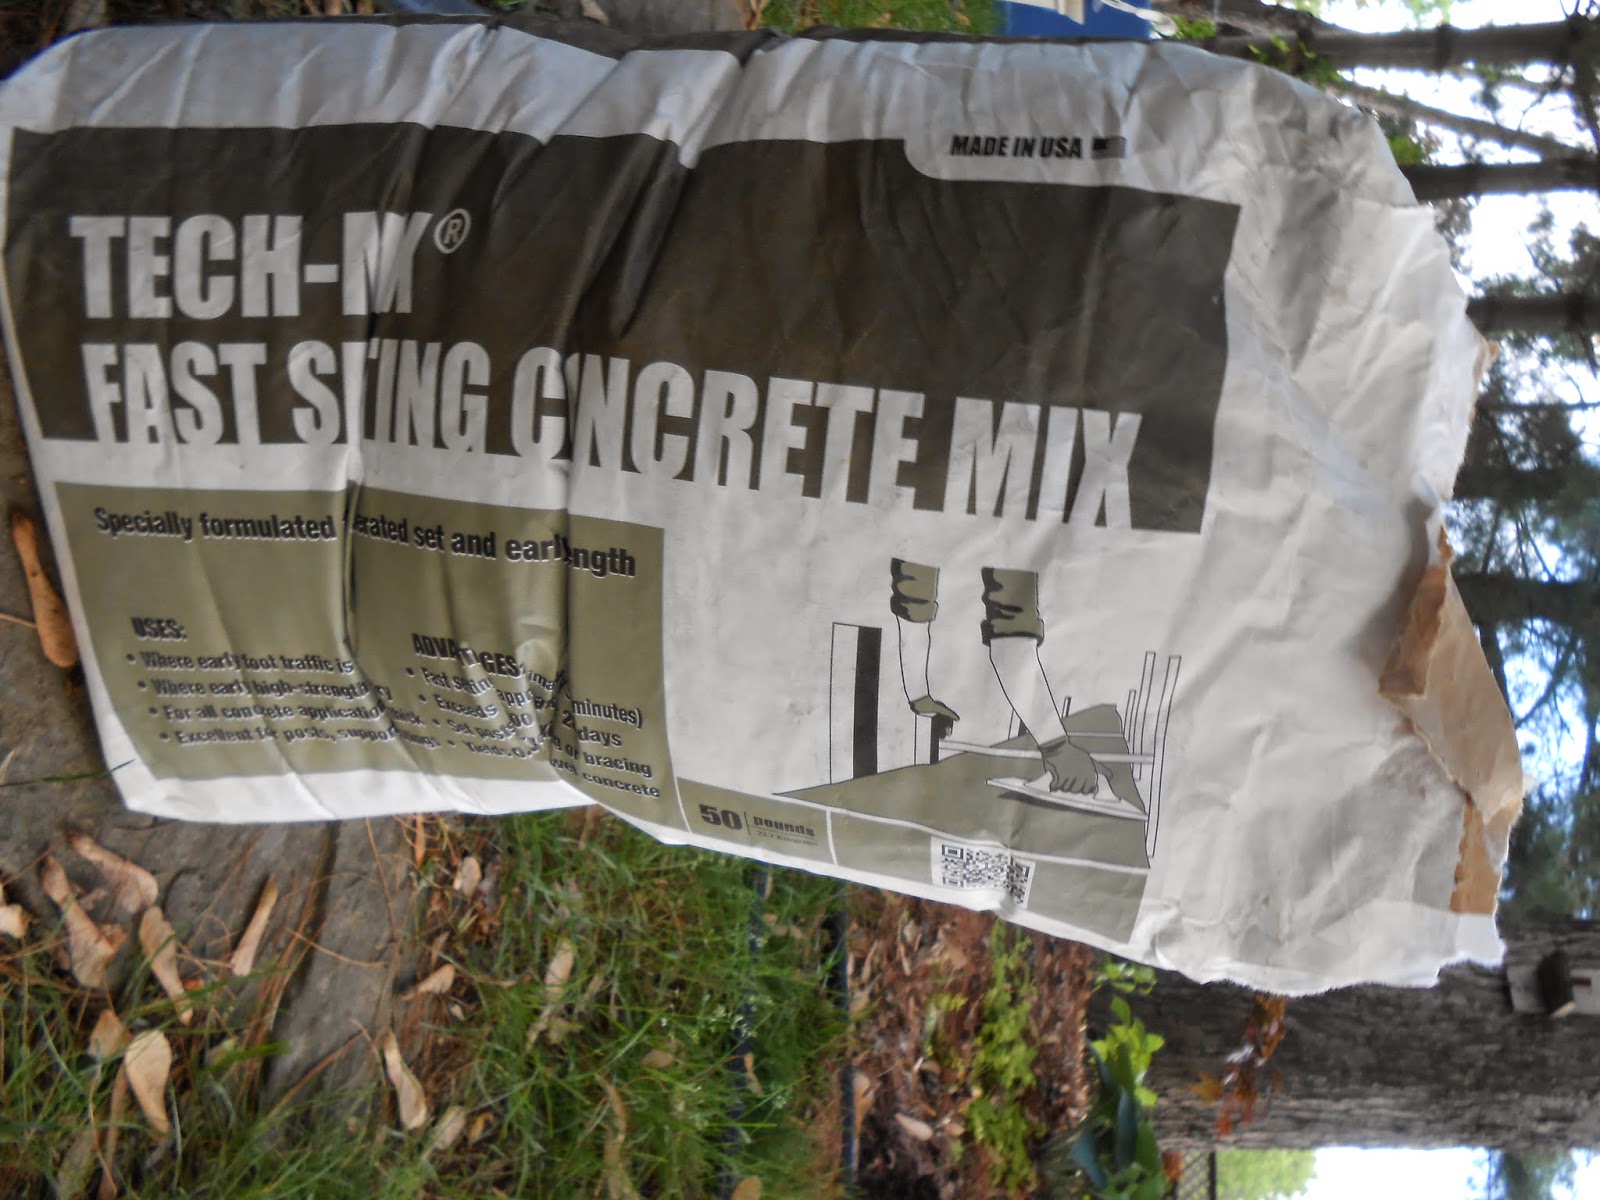
 2.  Bag of concrete or cement recipe of your choice (I am going to try hypertufa next)
Concrete for bucket stool

3.  3 or 4 legs at least 16 inches long (I made mine about 24 inches so I can cut off to level when done) and at least 1 1/2 inches around (I wish I had used larger sticks to make it sturdier).  I used some strong sticks I had laying around my yard, but you can use pipe, dowels, old chair legs, bamboo, the list is endless!
My pile of sticks

4.  Gloves (always)
5.  Dust mask (always)
6.  Tub to mix concrete or you can mix it in the bucket you are going to use
7.  Decorative items like shells, leaves or rocks.  I used clean river rock from my yard for the top.

Here is how you make it:

1.  Cut, clean and seal the legs if you are using wood.
2.  When dry, mark the sticks at the end you are going to insert in the concrete at 1 1/2 inches-this is how far they need to go in the concrete.  Also, to make it easier mark the inside of the bucket at 3 inches (that is how much concrete you will need).
3.  Spray the bucket with cooking spray.
4.  If you are going to "decorate" with rocks or shells put it in the bottom of the bucket now.
5.  Mix your concrete.  You can do this in the bucket if you do not have any "decoration" in the bottom.
6.  Let the concrete rest for about 10 minutes so that it can hydrate.
7.  After 10 minutes check the consistency of the concrete-it should be like cookie dough.  If the consistency seems good you can begin filling your bucket.
Press it down as you fill:
8.  When you hit the 3 inch line smooth the concrete, then start tapping the sides to release air bubbles (or you can vibrate the sides to release them).
9.  Let the concrete sit for a few minutes then insert the legs-either at an angle like I did or you can insert them closer to the sides of the bucket so they are straighter.  Do not move them once you insert them!  Trust me on this:-))
They do not have to be perfect-that is why I call it "rustic".
10.  What at least 10 hours to unmold.
11.  After 10 hours (or more) you can unmold.  If you are concerned about getting it out of the mold let it sit in the sun for about an hour-the concrete sweating inside the bucket will help release it.
When you are ready turn it up on it's legs-hopefully they are strong enough to hold it:-))
It should lift right off.
12.  Next, I cleaned up the top-knocking off the extra concrete with a hammer and chisel to expose my rocks.  If you unmold while the concrete is still somewhat wet you can just use water and a brush to scrub off the concrete.
13.  Trim legs to make level (or shorter).
14.  After you level it out mist the top with some water, wrap the top in a plastic bag and let it cure for a week or two.  Check it daily to make sure it is damp in the bag.  Curing is very important!
15.  After you let it cure you can seal it and then set it out in the garden to enjoy!
Rustic bucket stool
Rustic bucket stool
There you go-my version of the bucket stool-this is another project that can have sooo many personal variations!  You could even make a bar stool height if you wanted to!  I hope you try this awesome garden project for yourself-it is way easy!

Until next time-Happy Planting!

Rhonda


Monday, June 16, 2014

Milkweed's "Shady" Cousin

Shade tolerant milkweed aka Asclepias exaltata
Asclepias exaltata
In honor of Pollinator Week (June 16-22)  I would like to introduce you to Asclepias exaltata-Poke Milkweed.  Poke Milkweed is a shade tolerant (yes-I said shade tolerant!) cousin to those sun loving plants in the milkweed family. The Poke milkweed I have been growing in my yard receives less than 3 hours of direct sun in a day and the blooms and foliage have not suffered because of this lack of sun.    Another positive about this milkweed-it does not seem to be as aggressive as some of the other members in the Asclepias family.  In fact my clump has been slowly expanding.  The picture below shows the size of my clump which I grew from seed in 2009/2010:

Asclepias exaltata
Asclepias exaltata


Here are some facts about Asclepias exaltata (Poke Milkweed):

1.  It is native to the Eastern half of the United States
2.  It is shade and drought tolerant frequently found growing on the edges of woodlands and forests or in clearings in the woodlands.
3.  It is surprisingly aromatic when blooming.
4.  Has striking flowers.
Asclepias exaltata flowers
 5.  Attractive to a wide range of pollinators as both a nectar source and a larval host.
Bee on Asclepias exaltata
6.  Grows from 2ft to 6 ft tall.
7.  I have found that it blooms earlier than other Milkweeds-mine is in full bloom now (mid June).
8.  Low maintenance.
9.  Hardy between -40 and -30F.
10. Deer and rabbit resistant.
11. Easy to start from seed.
Asclepias exaltata
Asclepias exaltata
If you are looking to add some pollinator friendly plants to your landscape try Asclepias exaltata-you won't be disappointed!

You can find seed for this awesome native plant at prairiemoon.com-https://www.prairiemoon.com/seeds/wildflowers-forbs/asclepias-exaltata-poke-milkweed.html.

Until next time-Happy Planting!!!

Rhonda

Sunday, June 8, 2014

Holes In Hosta Leaves-It Might Not Be Who You Think!


So, you walk by your prized Hosta one afternoon on a stroll and it looks like this:
Hosta "Guacalmole" with damage
Hosta "Lakeside Shore Master" with damage
Hosta "Journeys End" with damage
Your first thought is probably to go and grab the beer, eggshells or the copper banding.  To be honest, these things might not work.  The damage in the pictures above is not from the infamous slug but from another enemy of the gardener-the cutworm.

So, you ask, how do you tell the difference.  Well, it seems that cutworms make larger "neater" holes.  Here are some examples
Hosta "Lakeside Shore Master" with cutworm damage

Hosta "Lakeside Shore Master" with cutworm damage
Hosta "Guacamole" with cutworm damage
Slugs, on the other hand, are "messier" if that makes any sense.  Since I apparently don't have any slug damage at this time I found this photo online of an example:
If you still don't know which you have you can go out at night with a flashlight and look for the culprit(s).  Both slugs and cutworms like to feed at night.  You can also look for cutworms during the day.  Here is how I do it:

Find a Hosta that is being attacked.
Hosta "Journey's End"
Gently pull back the mulch from around the Hosta
Look carefully around the Hosta, I found this cutworm at the base of the stems on this Hosta
Cutworm found by Hosta
cutworm found by Hosta
Now all you need to do is squish it.  No chemicals needed:-))  Seriously, finding them and squishing them has been the best and easiest way I have found to control them.  If you catch them early enough you won't have significant damage to your Hosta.

Here is a cutworm I found near my Hosta "Guacamole"
Can you spot the cutworm?

A closer shot of the cutworm

Cutworm

 Did you notice how far away from the Hosta this one was?  You have to make sure to check the whole area surrounding the Hosta-they can be anywhere around it.  I usually will only find one cutworm in an area, but I usually check the entire area just in case.

So, the next time you have holes in your Hosta don't blame the slug,  you could have a different enemy:-)) 

So, until next time-Happy Planting!

Rhonda