Analytics

Sunday, April 27, 2014

Propagate Hostas without Breaking Your Back!


Hosta "Lakeside Shore Captain"
There are two types of gardeners in the world: clumpers and splitters.  I admit it-I am a clumper.  I cringe at the idea of cutting my babies up into pieces.  I would rather leave them alone so they can get  big.  Wait, not big-huge.  I want huge Hostas.  Digging them up and dividing them can set them back and, to be honest, I do not like doing that because it takes some varieties forever to reach a good size.  A solution I came up with is minimally invasive, and it does not set my Hosta back like digging up the entire clump does. This is perfect if you want to share a small piece or if you need a few eyes for a project.  You can take off more than I have shown, I just prefer to keep it to a minimum.  Just a note: I do this in Spring before the Hostas leaf out so I can see what I am doing, but you can do it at any time of year.

Here is what you need:

1.  A  nice clump of Hosta.

2.  Shovel that is cleaned and sanitized.  I recommend this due to Hosta Virus X a disease that affects and spreads among Hosta.  (I recommend you read about HVX at this link: http://www.inthecountrygardenandgifts.com/articles/hosta_virus_x.php)

3.  Something to plant your eyes in.

Here are the steps:

1.  Find a clump of Hosta you want to propagate,  I chose is one:
Hosta emerging in spring

2.  Find an eye or set of eyes toward the outer edge and use your finger to clear a spot between the eyes like this:


 3.  Take your shovel and place it in the spot you marked:
Place shovel between Hosta pips

 4.  Push down on the shovel and cut through the Hosta to release the eyes: 
Use shovel to cut between the Hosta pips

5.  Move the shovel around the eyes you are removing to cut through and loosen them.  Make sure to be far enough out to get some roots:
Step on the shovel to cut through

 6.  When you have cut around it gently lift it with the shovel:
Lift the Hosta piece out gently


7.  Or your Hand if it's easier:-)
Remove the piece of Hosta
 

8.  Replace dirt that came out and pack it gently: 

9.  Pot the eyes up for when you need them-keep them well watered until you find them a new home.
Hosta division
Potted up Hosta divisions
I hope you find this post helpful!  Feel free to leave me comment on anything you would like.
Until next time-Happy Planting!

Rhonda

Sunday, April 20, 2014

Easy Marbling With Spray Paint And Water


I have been trying to find an interesting way to update some of my flower pots without having to spend much money.  So, as I was searching on the internet I came across marbling for fingernails on Youtube and I thought "THAT'S IT!"  I have got to find a way to do that to my pots.  Now there is a marbling technique for pots that someone had instructions for, but they used nail polish.  I was
looking for something cheaper-maybe something I had enough of on hand that I did not have to buy.  Nail polish isn't cheap you know.  So I searched my garage and came up with some cans of spray paint that I had purchased for other projects.  That would be perfect (I did have to go out and buy a can of white-the can I had would not spray).

Here is a list of what you will need:

1.  A flower pot of your choice.
2.  Some gloves (unless you want marbled hands and nails:-))
3.  Plastic tub-size depends on the size of the pot but it should be shallow but wide enough to roll your pot around in it.
4.  Water
5.  White spray paint of your choice (serves as the base for your colors)
6.  Other colors of spray paint-I would use at least 3 different ones.
7.  A strong stick to hold the pot.  2 if you want to use one to roll the pot in the water.

These are the colors that I used.


Here are the steps to marble your pots:

1.  Choose your flower pot.

2.  Paint the pot white and let it dry.
I choose a little one because I was afraid:-))

3.  Fill your container half way with water.
For the small pot I just used an old Easter tub I found laying around.

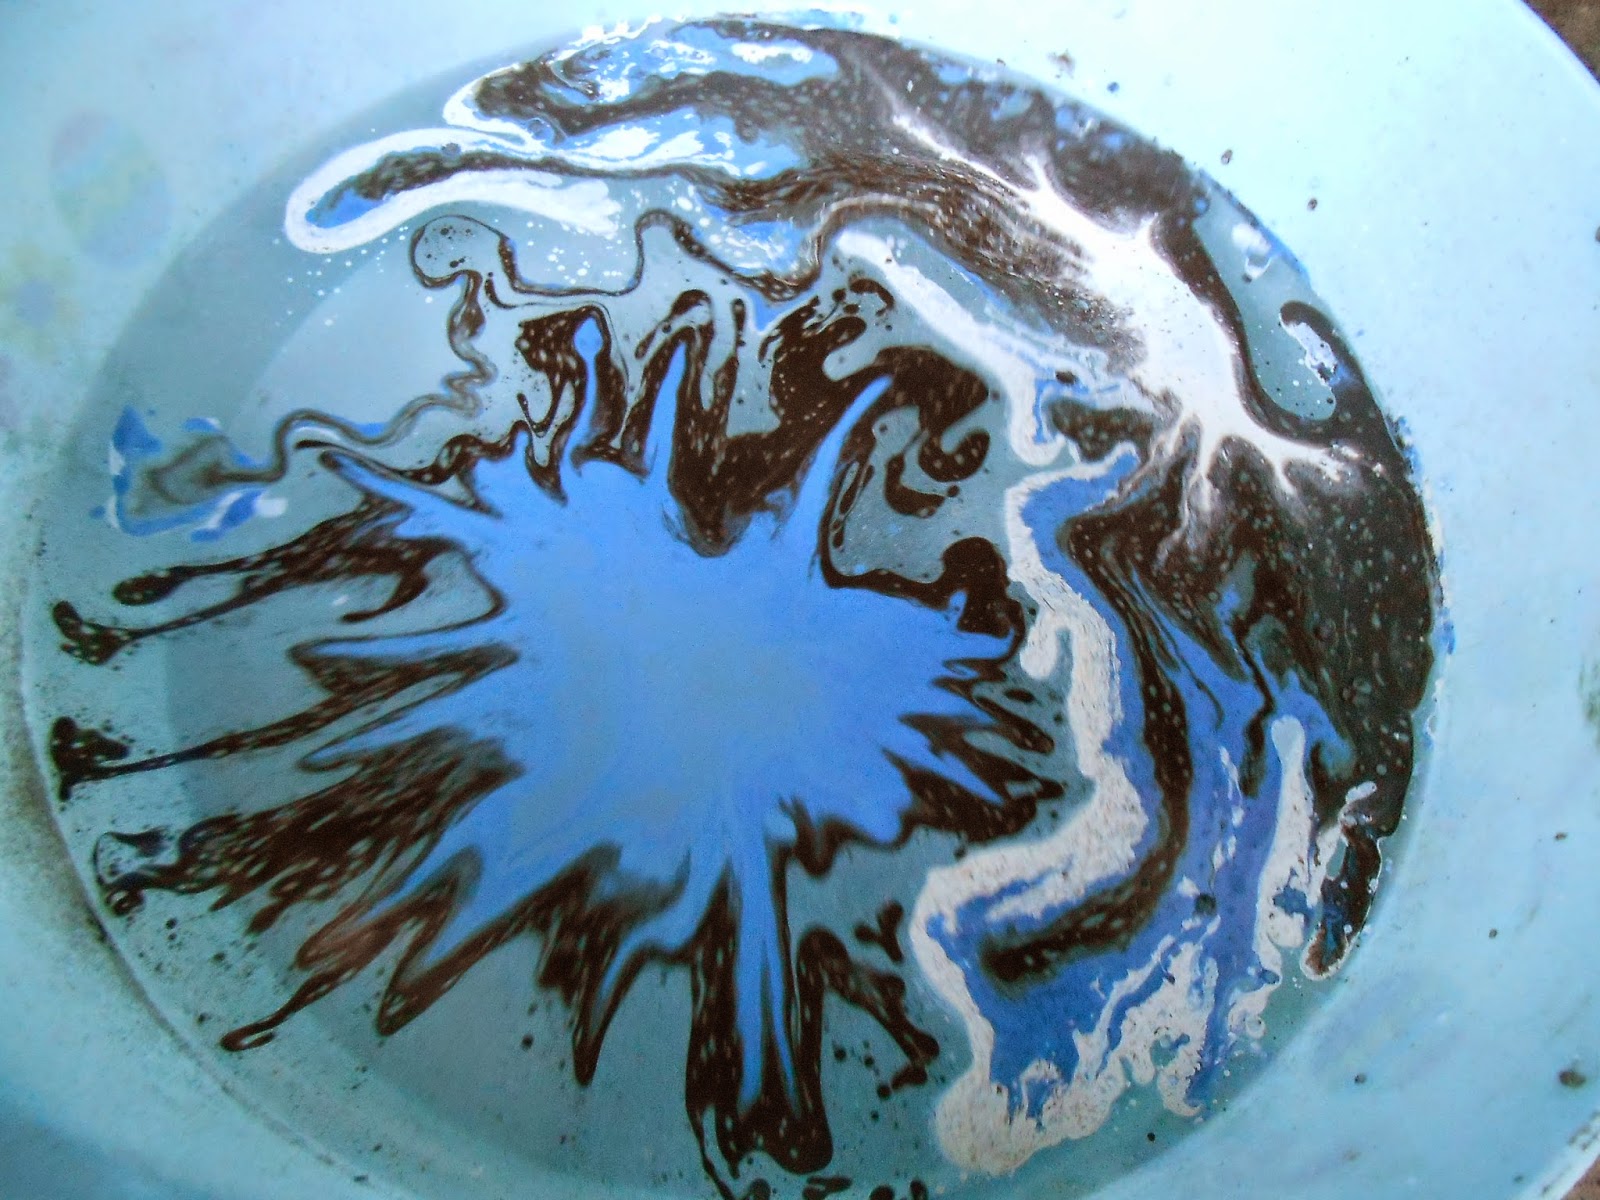
4. Start by spraying the spray paint on top of the water-you should do just short squirts of each color.  Just a note:  you have a couple of minutes to work with before the paint starts to dry on the surface so try to do it relatively quickly.
This is what your first squirt should look like.


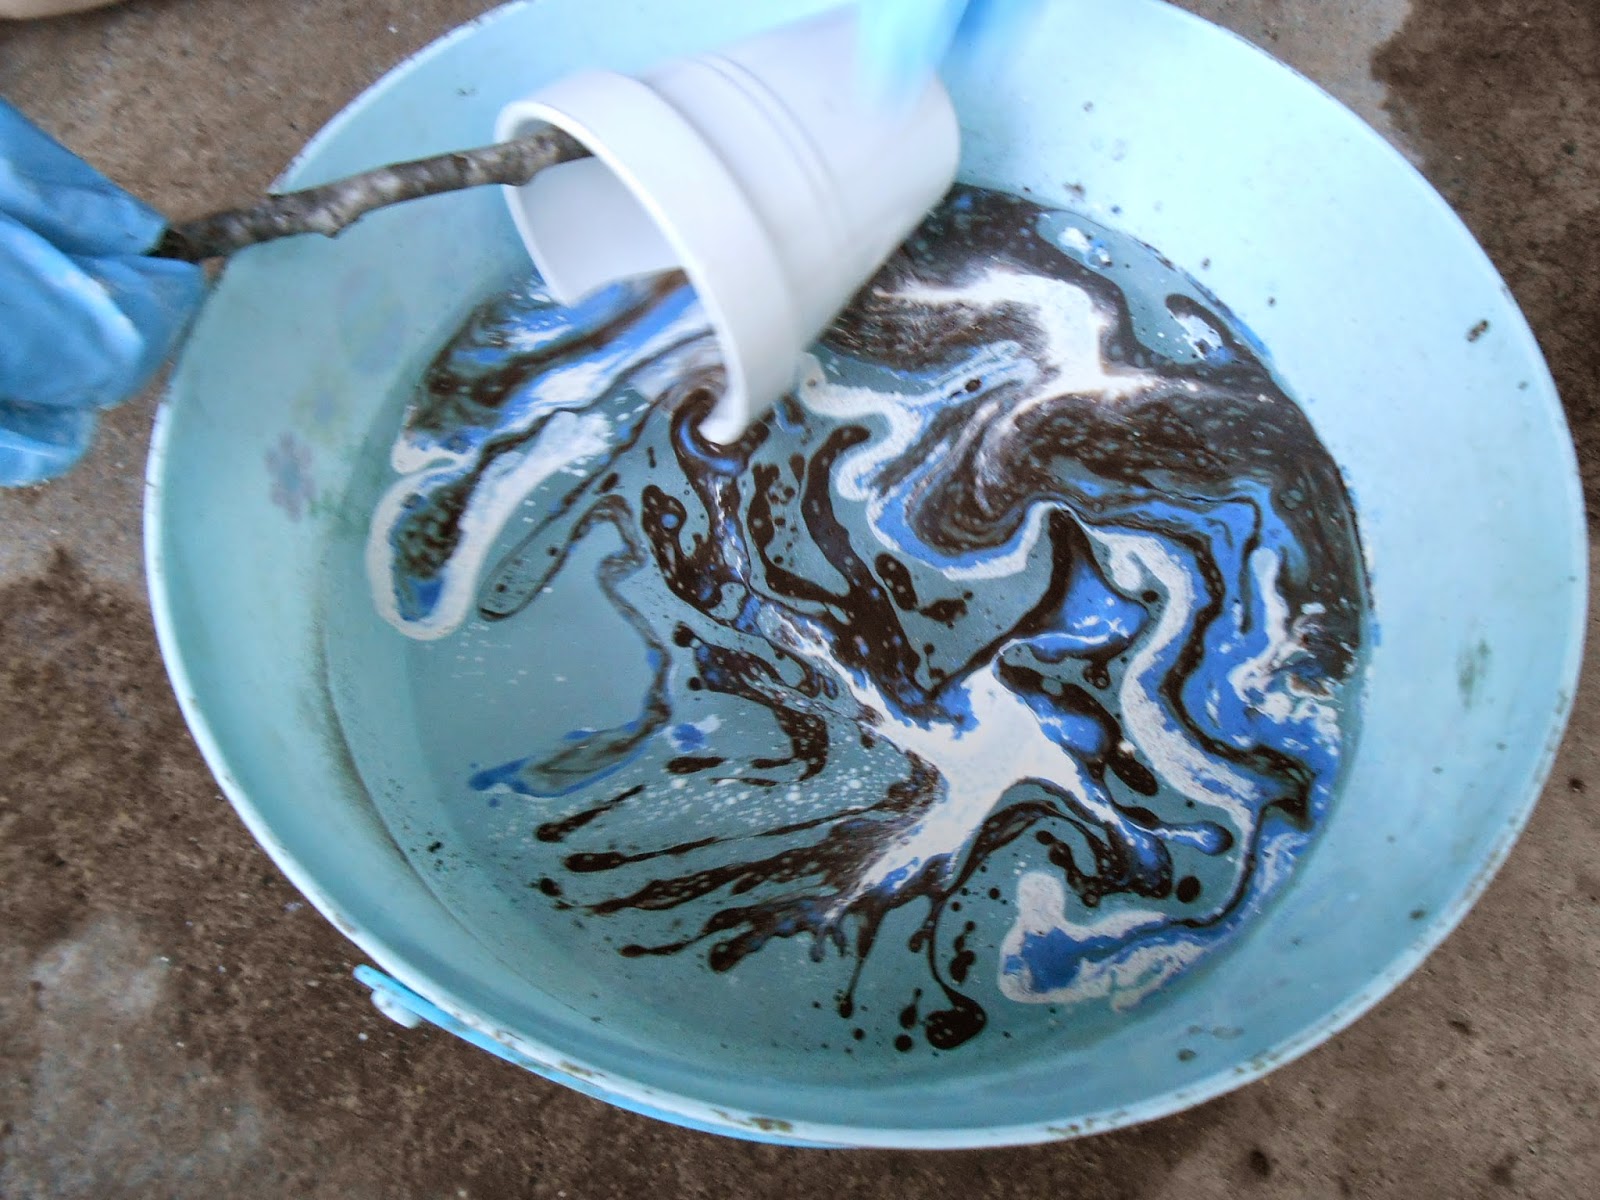
5.  Grab your next color and squirt it inside of the first color.

Second squirt in the first squirt.
6.  Repeat step 5 with the next color.


7.  Repeat the colors until the surface of the water is covered with spray paint-just use your imagination.  I started a new "ring" in the water next to the first one. 


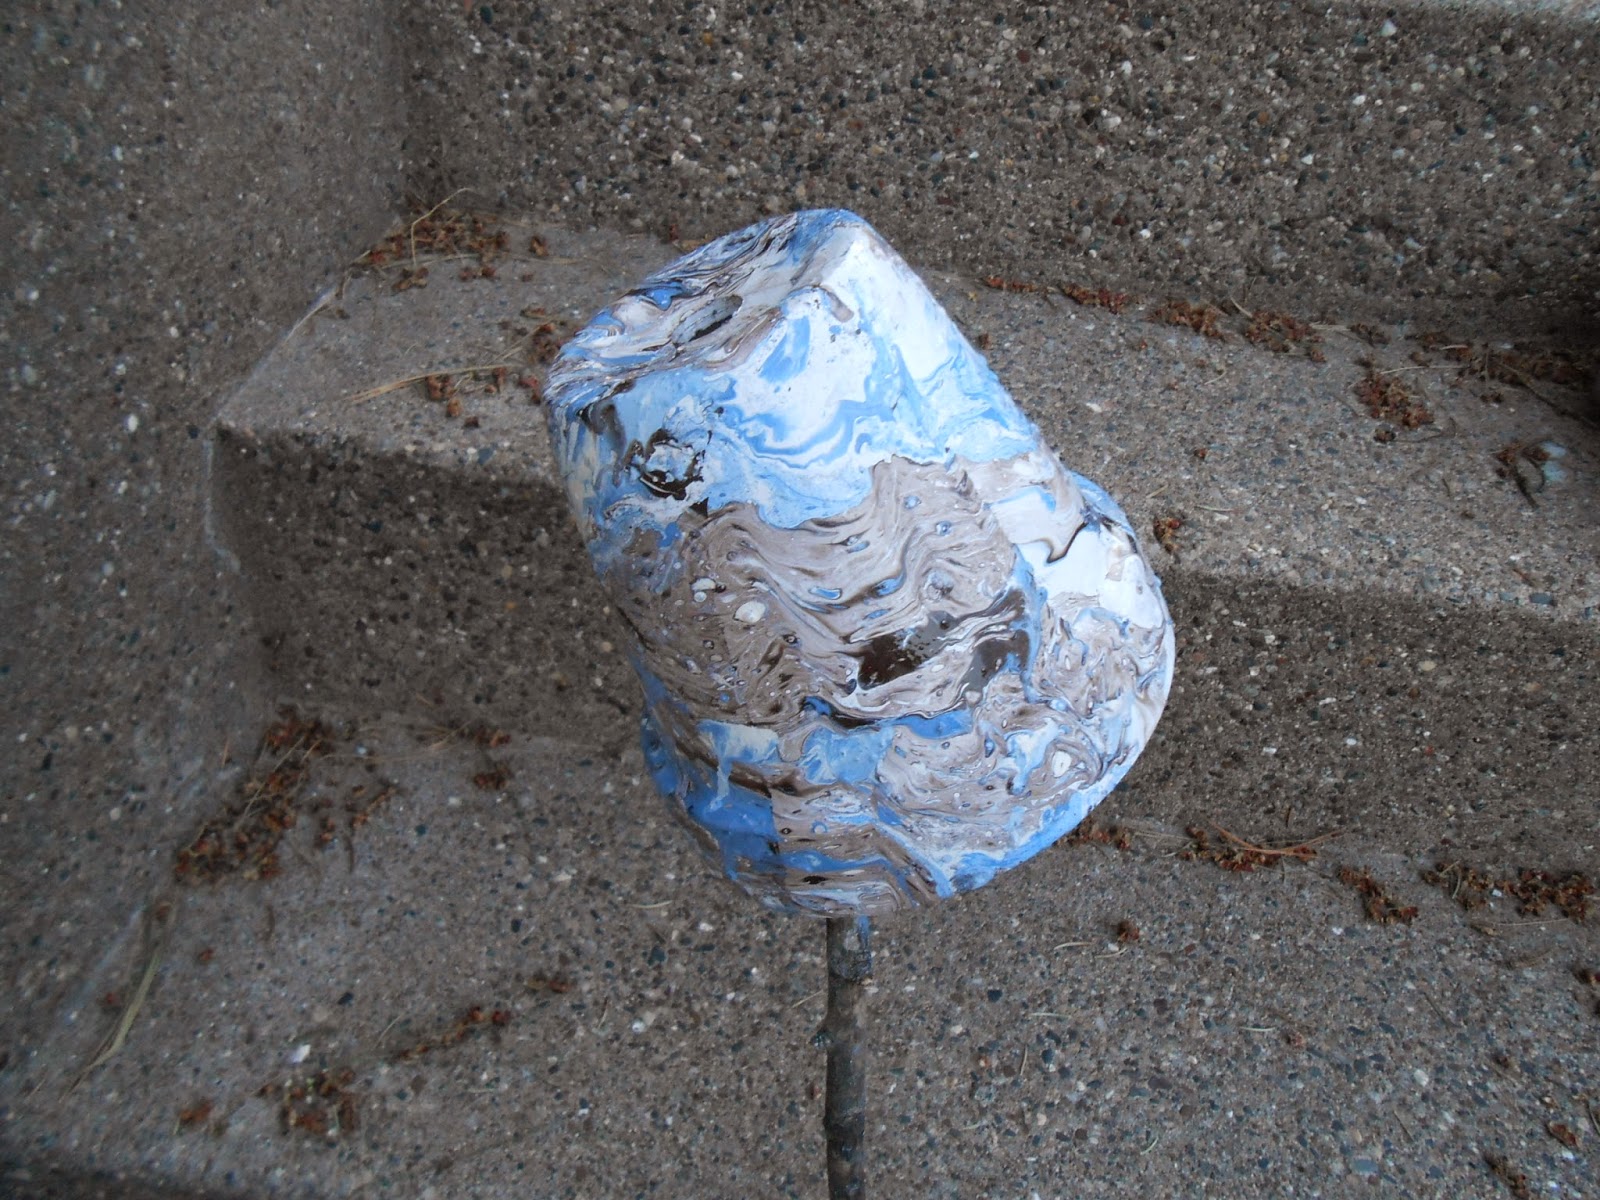
8.  Place your pot on the stick, then lay the pot in the water (about an inch or so down in the water) and try to roll it through the spray paint, I tried using another stick to roll it but it didn't work for me so I used my finger..  Roll it through quickly-make it a continuous roll if you can (otherwise the pattern will not be continuous-but it still looks ok).


9.  To dry I found it easiest to leave the pot on the stick and then take it outside and stick it in a pot of dirt to dry, but you can do whatever is easiest for you.  Here it is drying:

10. I even did the saucer which was much easier-I just "dunked" it in and it looks pretty good.
Saucer after being "dipped".

11. To clean up just wait a few more minutes for the paint to dry and skim it off the water's surface then dump the water.  Cleanup isn't too bad is it?

12.  I also did a larger pot in a bigger tub
Picture of the tub I used for the second attempt.
Here is the second pot I did.

Here are the completed pots-I plan on sealing them (with spray paint sealer) before I plant them just to make sure the paint lasts.

Marbled clay pots

I am thinking that this could be done with oil based latex paints.  In fact, it might give more control to the design aspect and you could make designs since spray paint does it's own thing.  I will have to check that out!  I hope you like this idea!

Happy Planting!!!!
Rhonda


Wednesday, April 9, 2014

Tips for Successful Indoor Seed Starting.

My maiden post is going to be on one of my favorite winter/early spring chores - Indoor Seed Starting.  I start seeds for a couple of reasons, the first one is to beat cabin fever that occurs in late winter early spring before it is warm enough to work outside.  Another reason is cost.  It is cheaper in the long run to buy seeds and soil and start your own than it is to buy those 6 packs at the store.  So here is a pick of my setup: 
Indoor seed starting setup
So here is a list of my seed starting tips:
1.  Always use sterile seed starting mix (I make my own)

2.  Cover the seeds with coarse sand (I use Builder's Sand for this), I find this helps in preventing damping off.

3.  Bottom water only and do not fertilize until the seedlings have a set of true leaves.

4.  Have plenty of light, chances are there is not enough sunlight coming through your windows.  I use shop lights with 2 t8 bulbs in them-1 warm and 1 cool.

5.  Reflect the light.  I use a mylar (first aid) blanket and aluminum cookie sheets from the dollar store (you could just use 2 mylar blankets instead of cookie sheets).
Use aluminum sheets to reflect the light on seedlings
6.  Thin the seedlings to prevent overcrowding.

7.  Run a fan.  This keeps the air circulating and also makes for stronger seedlings.

8.  Monitor for issues constantly such as damping off and fungus gnats so that you can act immediately.

9.  Transplant when ready.  I like to wait until the seedlings are bigger.  It seems to be easier for me than when they are tiny.  I have never had any ill effects from this. This is a good size:
Plants grown using indoor seed starting setup

10. Harden off your plants.

So that is it.  My top tips for Indoor seed starting-hope they work well for you!  Happy planting!!!!